
How to add months to a date in Excel
 By
SpreadCheaters
By
SpreadCheaters
You can watch a video tutorial here.
Excel allows you to add days to a certain date in a very simple way. Let’s take an example data set, shown below, and add some number of days in dates.

Let’s see how we can use Excel’s built-in DATE function to find a solution to our problem by following the steps presented below.
The syntax of date function is as follows,
=DATE(YEAR,MONTH,DAY)This formula creates a date by using three parameters, YEAR, MONTH and DAY. When the right parameters are provided we can create any date using this formula. Let’s see how to use it in the below steps.

Sometimes we have to handle the data which consists of various dates while working in Excel. One such situation can happen when you have to track the days your team worked on a particular task. You might also want to inform your team about the deadlines of the tasks. In such situations we need to manipulate the dates data by adding or subtracting days to a particular date.
Step 1 – Create the Date formula to add months to a date:
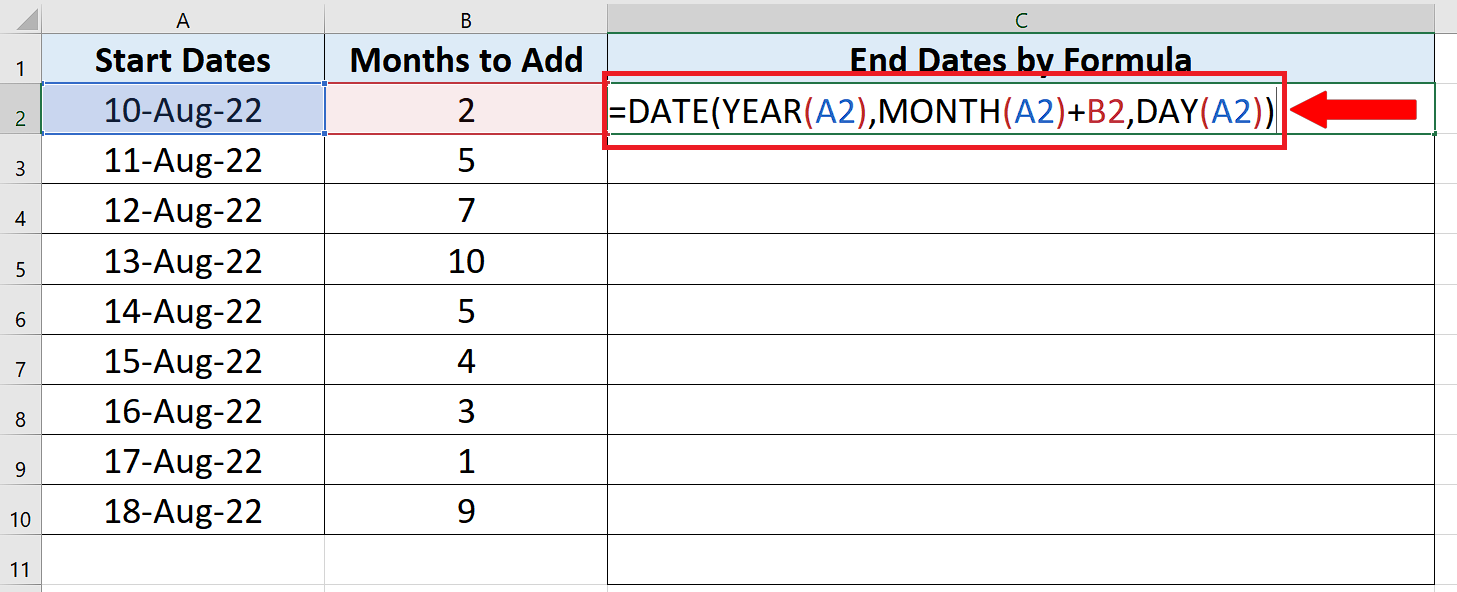
– Now we will use the Date formula to add the months in dates. For this go to any cell, let’s say C2.
– Use the following formula in that cell to add the days in dates and press enter key.
= DATE(YEAR(A2),MONTH(A2)+B2,DAY(A2))
– The above formula creates a new date by using the DATE function of Excel. This function requires Year, Month and Day to create a date. We passed on the Year, Month and day of A2, which was our start date, and added the number of months from B2 to the months section of the formula. This will add the number from B2 to the months of the start date only.
Step 2 – Implement the formula and add months to the start date
– After writing the formula correctly, press enter. It will display the new date after adding 2 days to the start date just like it did in the previous step.
– To extend the results to further down the rows just double click the fill handle it will automatically drag the formula down till the last row as shown above.


