
How to add a total row in Excel
 By
SpreadCheaters
By
SpreadCheaters
In this tutorial we’ll learn using one such tool to add a special row called Total Row. This term is particularly related to Excel Tables in which we can very easily add a special row at the bottom of the dataset. This special Total Row provides many predefined mathematical functions like Sum, Average, Min, Max, Count, Count Numbers, Standard Deviation and Variation using the values of the dataset.
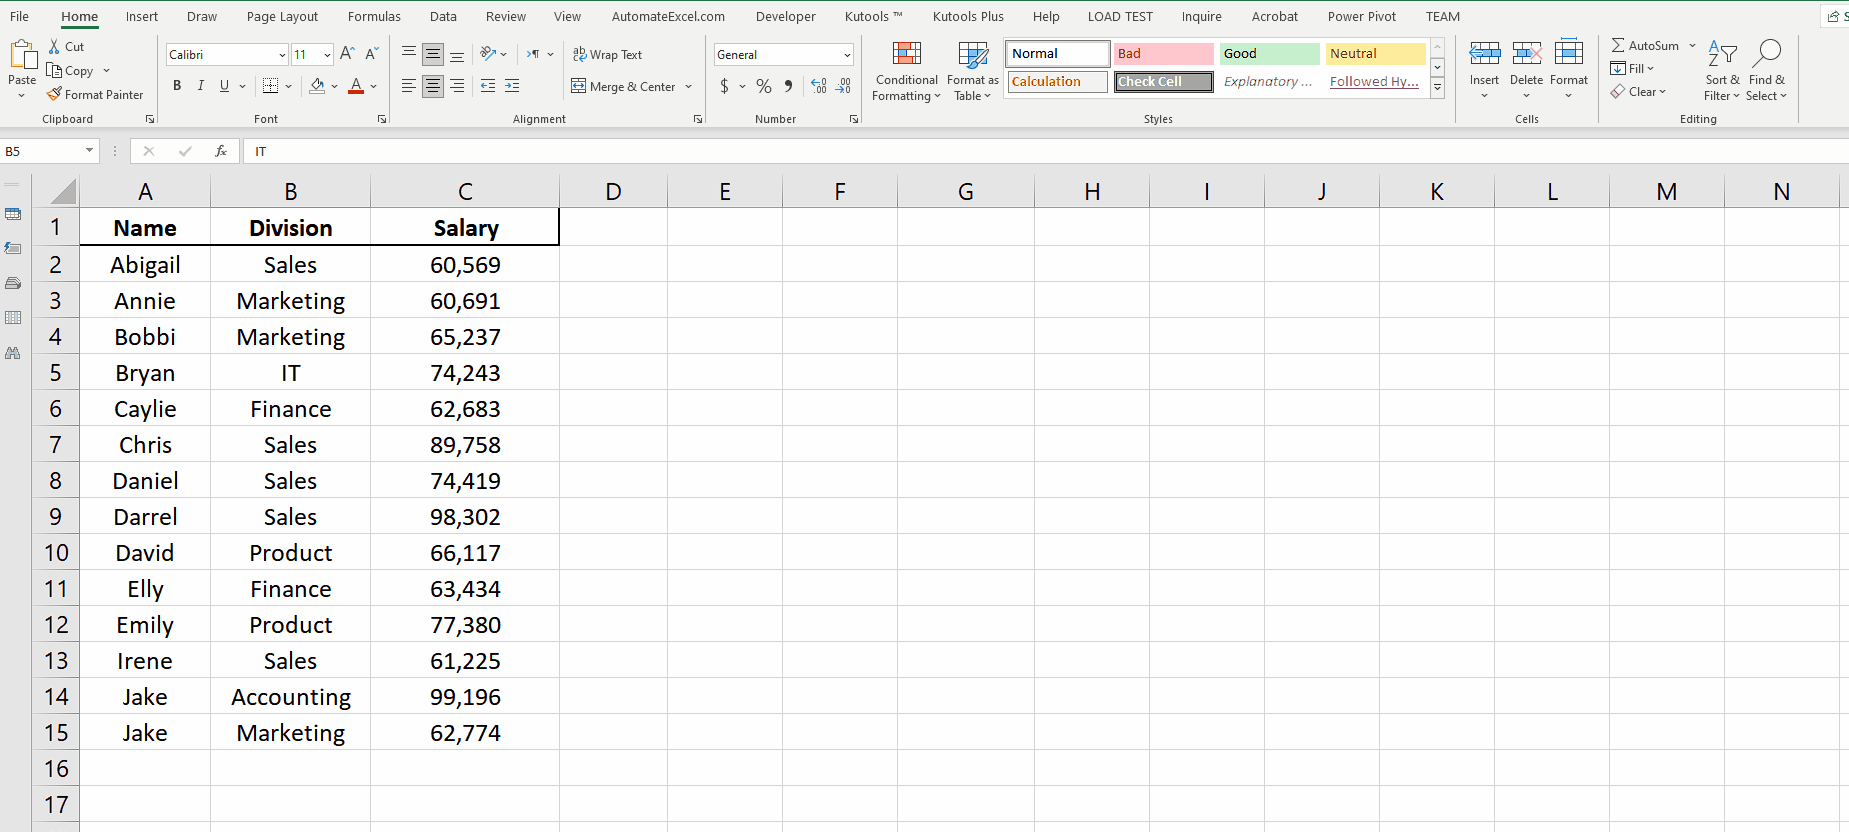
Let’s take an example dataset and add a Total Row to it by following the steps mentioned below.
Excel provides some very interesting tools for mathematical calculations which makes our lives very easy while handling very large datasets.
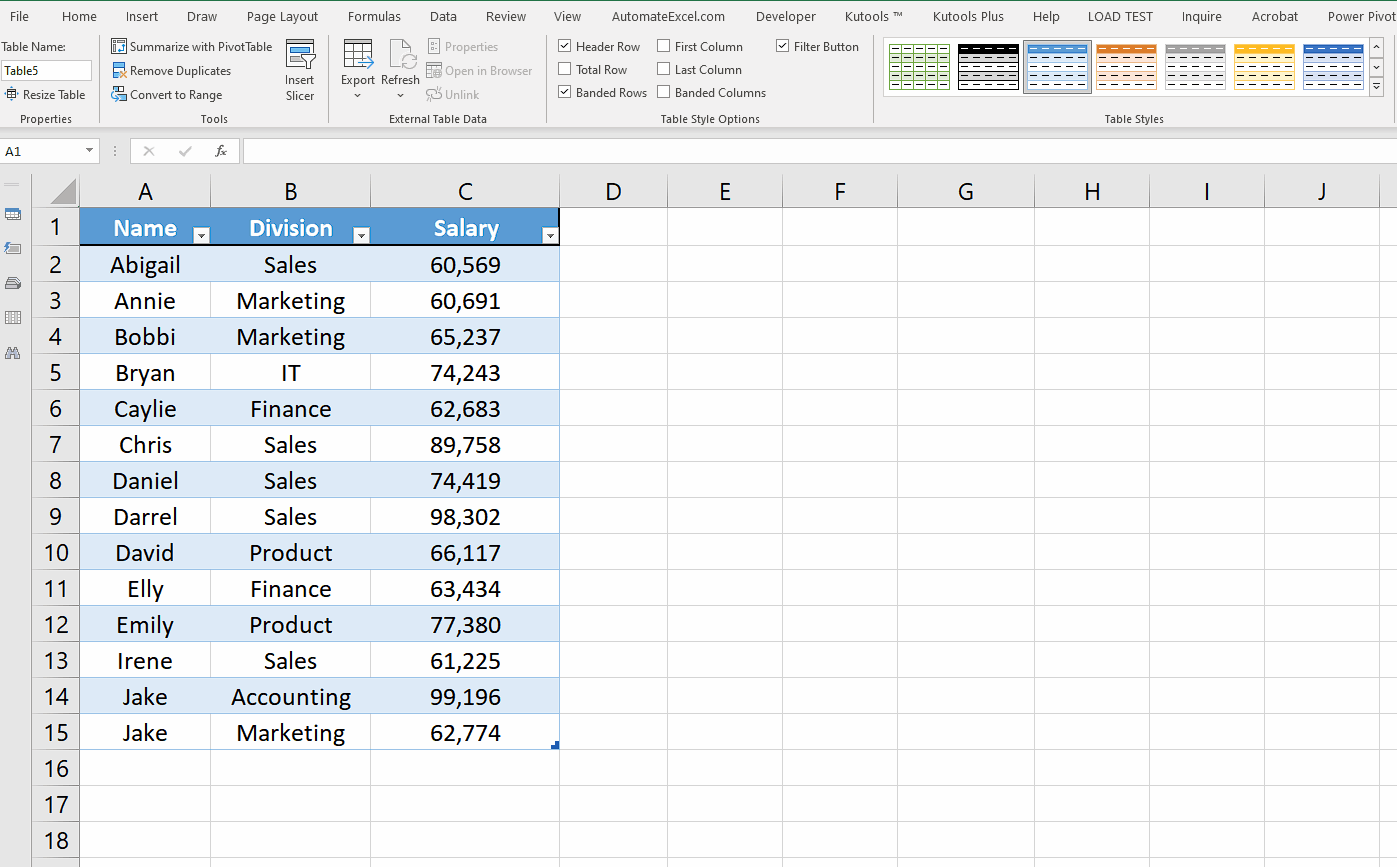
Step 1 – Convert the dataset to Excel Table
– The Total Row can only be added to an Excel Table, therefore, select a cell inside the dataset and press CTRL+T.
– A new dialog box will appear and will ask you to select the data range to convert into a table. By default, all data values will be selected. Keep my table has headers option checked if your table has headers as shown above.
Step 2 – Add a Total Row to Excel Table

– The Total Row can only be added to an Excel Table by using a very simple shortcut key, CTRL+SHIFT+T. The same shortcut key can be used to toggle between showing and hiding the Total Row below Excel Table.
– The same goal can be achieved by selecting any cell inside the Excel Table. This will show the Table Design tab on the main menu. Then in the Table Style Options group check the Total Row checkbox. This will also show the Total Row at the bottom of the dataset.
– By default, the option of SUM will be selected and the total will be shown above the dataset. The other options are Average, Min, Max, Count, Count Numbers, Standard Deviation and Variation.


