
How to add a table column in Excel
 By
SpreadCheaters
By
SpreadCheaters

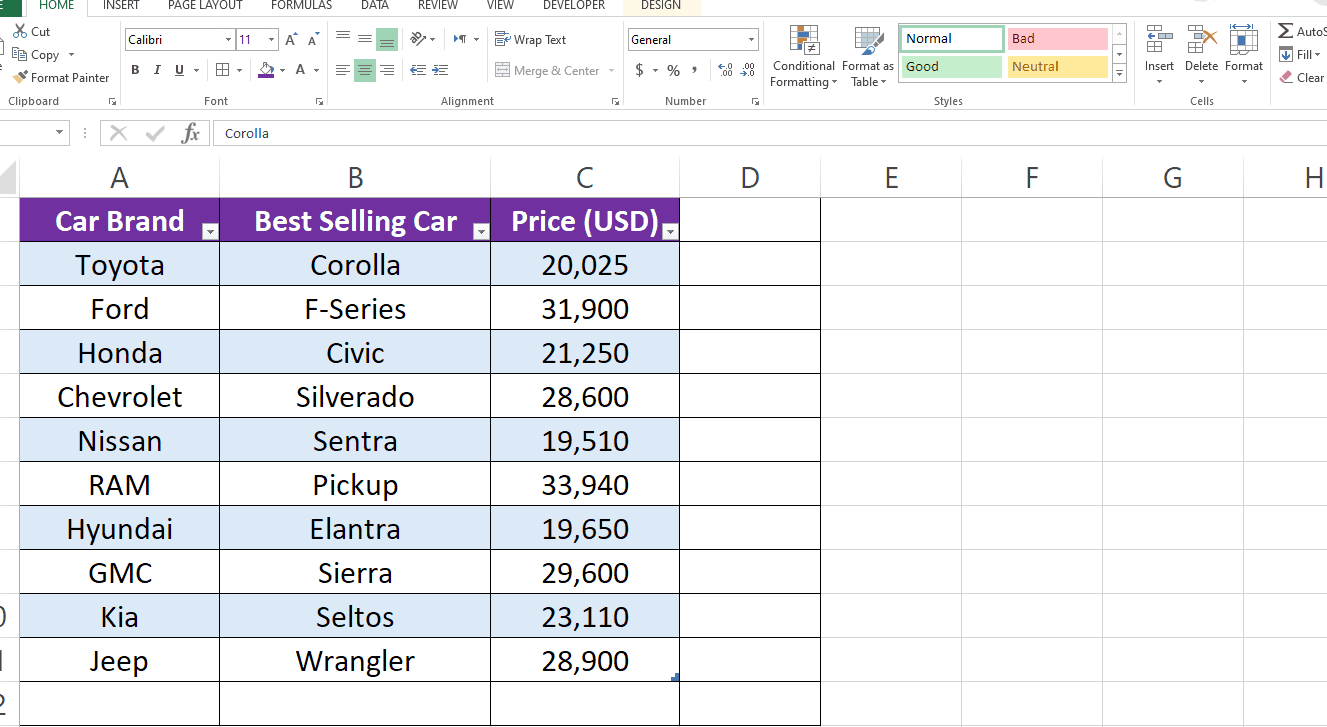
In this tutorial, we will provide step-by-step instructions for adding a column in Excel. Here we have a dataset which is an Excel Table and it contains names of Car Brand, Best Selling Car and its Price as an example. To add a column in this dataset follow the steps given below but first let’s have a look at the dataset above.

Adding a new column in an Excel table is a common task that many users perform regularly. A column can be added to an Excel worksheet in just a few simple steps, making it easy to organize and manage your data.
Step 1 – Open insert menu
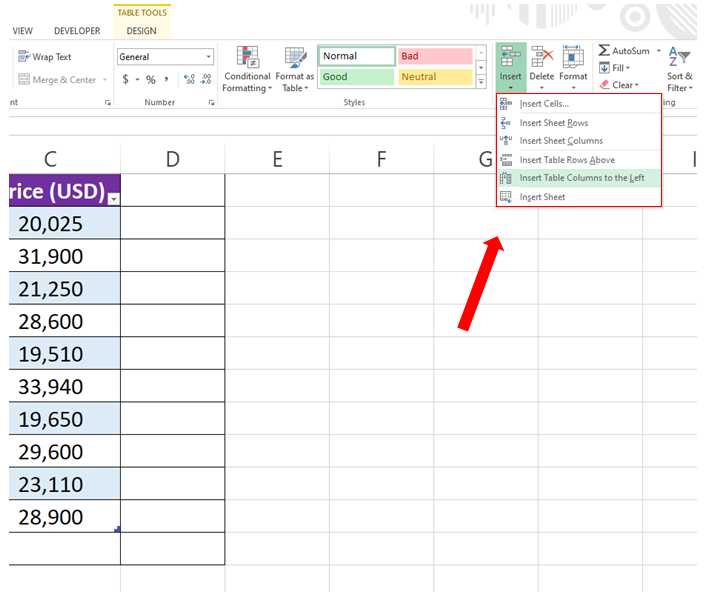
– To add the column select the cell where you want to add it.
– Go to the Cells group in the Home tab.
– Open Insert drop down menu.
Step 2 – Choose from the Insert options
– After opening the Insert drop down menu, select the operation you want to do.
– In our case we want to add a column therefore click on Insert Table Columns to the Left.


