
How to add a footer page 1 in Excel.
 By
SpreadCheaters
By
SpreadCheaters
Page last updated:
27/04/2023 |
Next review date:
27/04/2025
Excel is a powerful tool for creating and managing spreadsheets, but it can be overwhelming for beginners to navigate. One of the essential features of a spreadsheet is the Footer section, which allows you to add additional information to the bottom of your printed pages.
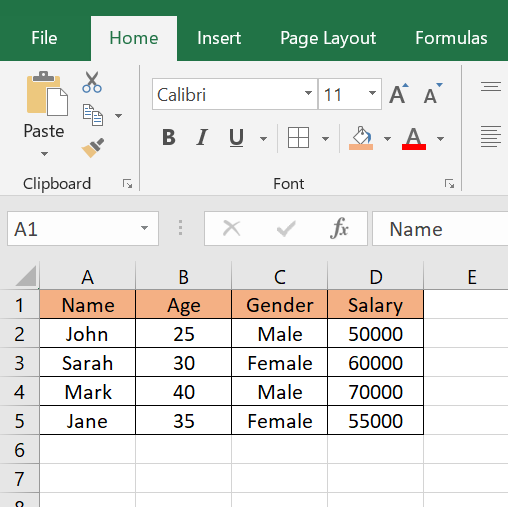
Here we have a dataset, in this dataset, there are 4 columns containing information. Now if we have multiple pages in excel that we want to print then we need to add a page number in the Footer to know which page is first. In this tutorial, we will learn how to add a page number in the Footer in Excel but first let’s take a look at the Dataset above.
Method – 1 Using the Page Layout option.
Step – 1 Changing Layout.
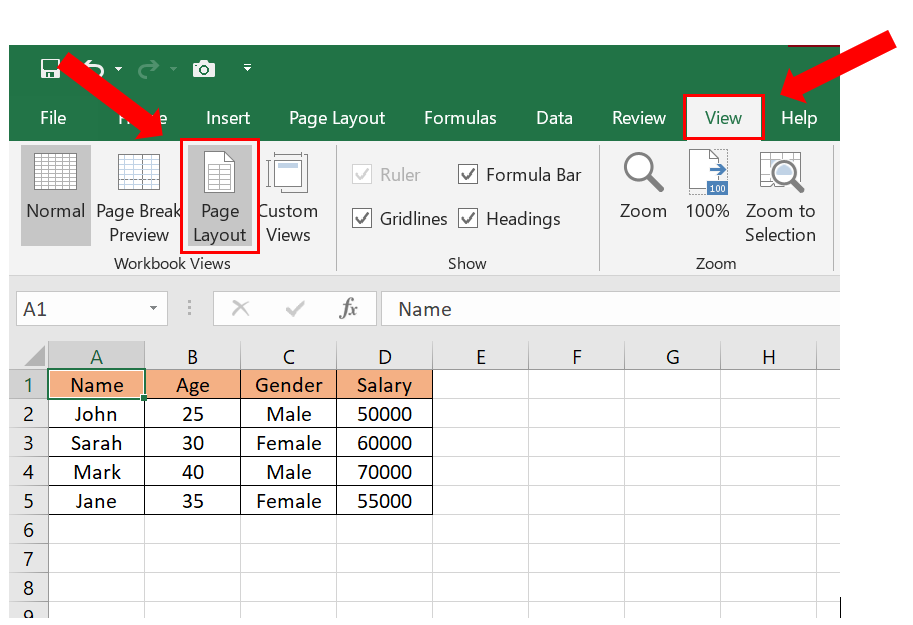
- Click on the View tab.
- Click on the Page Layout command in the Workbook Views group.
- This changes the layout of the excel spreadsheet.
Step – 2 Adding Page number.
- Scroll down to the Add footer option and click on the right box.
- This will reveal the Header & Footer Tools in the Design tab.
- In the Header & Footer Elements group click on the Page Number command.
- The page number will be added.
Method – 2 Using Insert option.
Step – 1 Selecting header and footer.
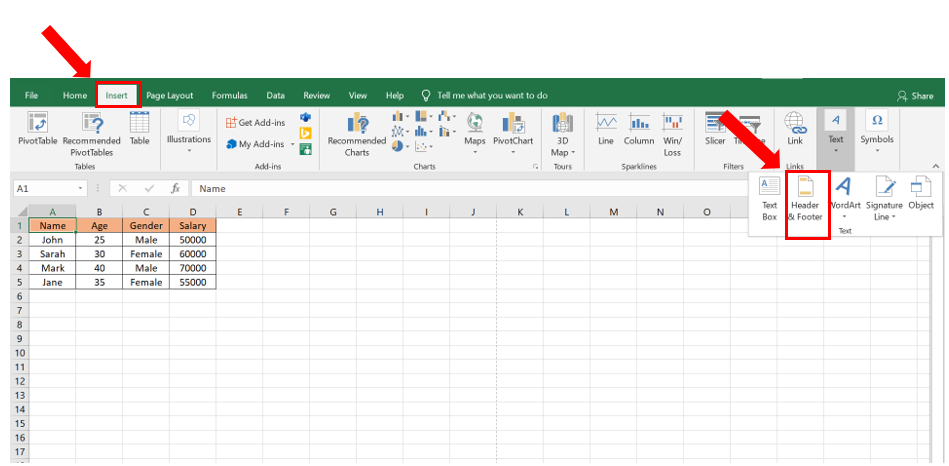
- Go to the Insert tab.
- Click on the Header & Footer command in the Text group.
Step – 2 Add the Page number.

- Scroll down to the Add footer option and click on the right box.
- This will reveal the Header & Footer Tools in the Design tab.
- Click on the Page Number command in the Header & Footer Elements group.
- The page number will be added.


