
How to add a bottom border in Excel.
 By
SpreadCheaters
By
SpreadCheaters
Excel is a popular tool used by millions of people worldwide for various purposes such as data analysis, budgeting, and record-keeping. Adding a bottom border to your Excel spreadsheet is an effective way to enhance its appearance and make it easier to read. In this tutorial, we’ll explore how to add a bottom border in Excel.
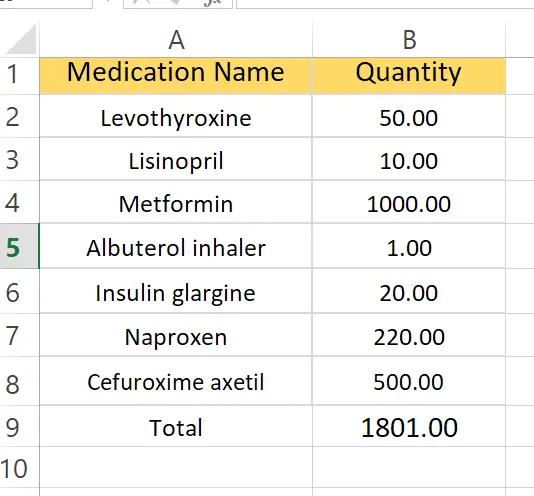
Here we have a dataset that contains Medicine Names and their Quantity. The Total is also given at the last of the dataset. We will add a bottom border on the last cell with the medicine name in it which will make the dataset more appealing. Let’s have a look at the dataset.
Method – 1 Use the Border Icon from Font Group
Step – 1 Open the dropdown menu of the border icon
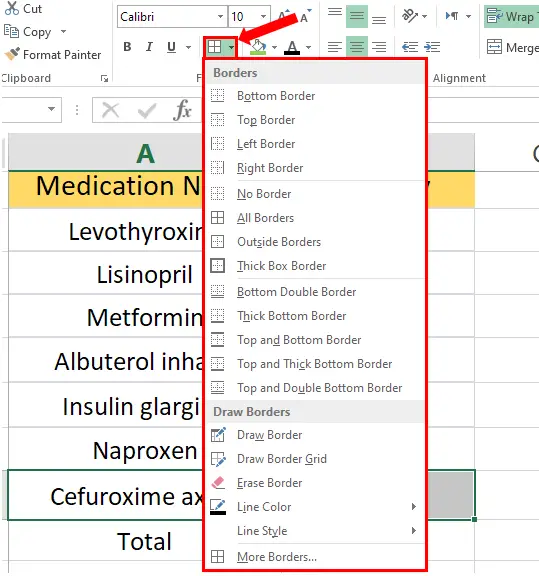
- Select the data where you want to add the bottom border.
- Then in the Home tab in the Font group open the dropdown menu of the border icon shown above.
Step – 2 Choose the border.
- In the dropdown menu that opens choose the type of bottom border you want.
- In our case we chose the first one, Bottom Border.
Method – 2 Styles group.
Step – 1 Select the cell where you want to add the border.
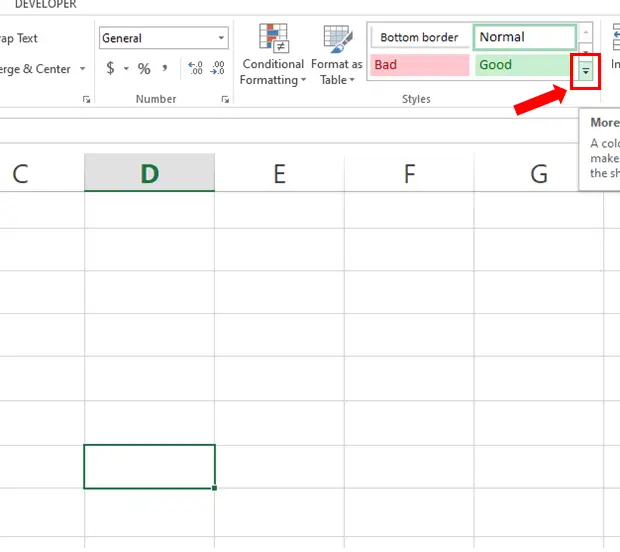
- In the Home tab go to the Styles group.
- Click on the dropdown arrow, in the menu you have multiple styles to choose from.
Step – 2 Choose the Style.
- After opening the dropdown menu choose the style you want.
- In our case we used the Linked cell style, because it has a bottom border.
- Click on the desired style to apply the settings according to your need.
- The cell will have the bottom border now as shown in the figure above.
Conclusion:
Adding a bottom border to your Excel spreadsheet is a simple process that can enhance its appearance and make it easier to read. By following the steps outlined above, you can add a bottom border to any cell or range of cells in your Excel spreadsheet. So go ahead and try it out, and see how it can improve the look of your spreadsheet.


