
How to add 30 days to a date in Microsoft Excel
 By
SpreadCheaters
By
SpreadCheaters
Adding 30 days in Microsoft Excel is a common task that many users perform to keep track of deadlines or project timelines. By adding 30 days to a date, users can quickly determine the deadline for a project or the duration of an activity. This functionality is essential for project management and other applications that require time-based calculations.
In this tutorial, we will learn how to add 30 days to a date in Microsoft Excel. Adding 30 days to a date in Microsoft Excel is a simple task that can be accomplished using different methods. One common method is to simply add 30 to the date. We can also use the EDATE function or the DATE function to add 30 days to an existing date in Microsoft Excel. The Paste Special feature can also be utilized for this process.
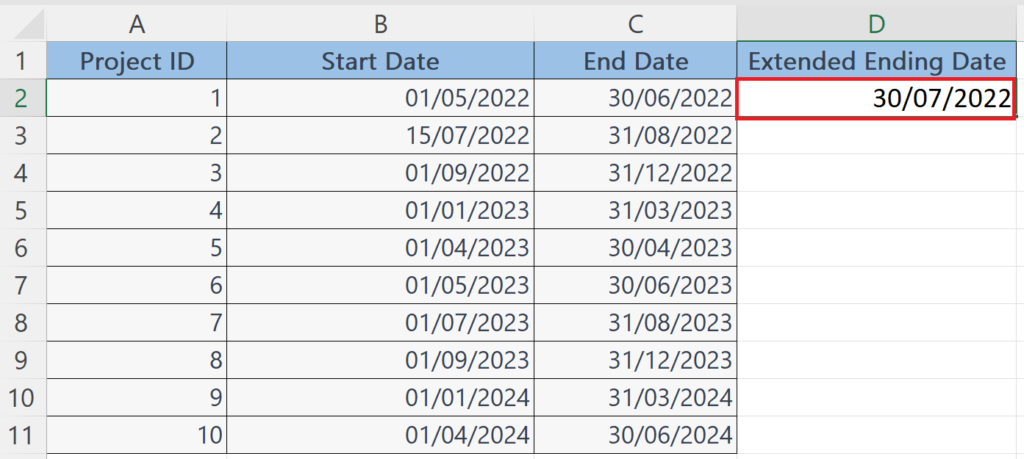
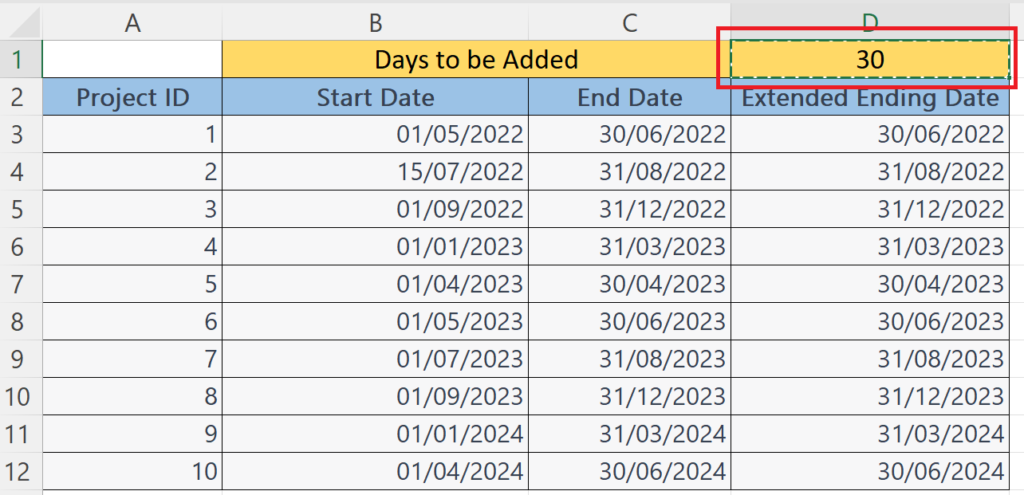
Currently, we have a data set representing the Starting and Ending dates for a list of projects. The Ending date of each project has been extended by 30 days, so now we aim to add 30 days to the Ending date of each project.
Method 1: Add 30 days to a Date using Algebraic Addition
Step 1 – Select a Blank Cell and Place an Equals Sign
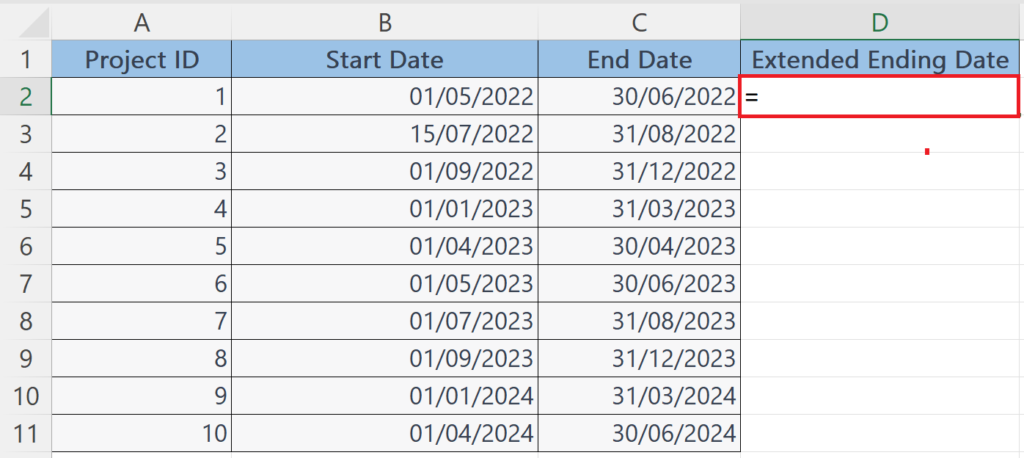
- Select a blank cell where you want to place the date after adding 30 days.
- Place an Equals sign in the selected cell.
Step 2 – Add the Reference of the Cell Containing the Original Date
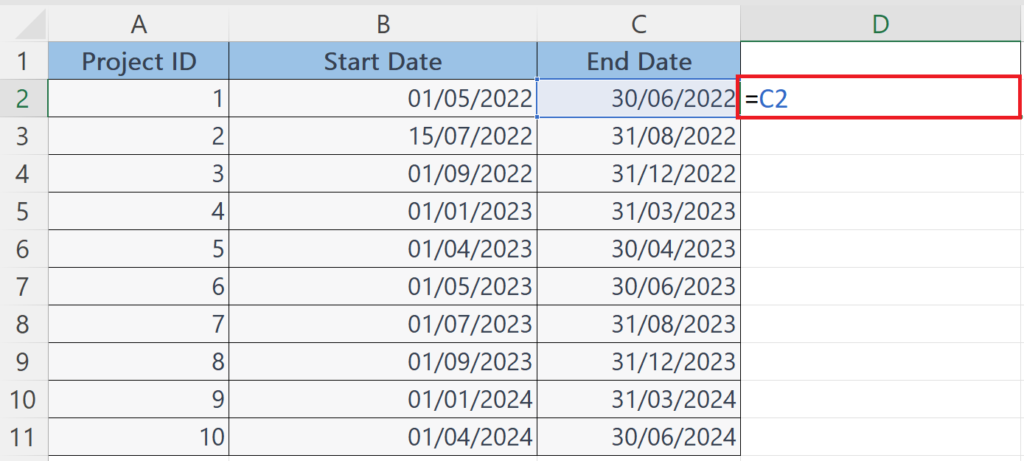
- Add the reference of the cell containing the original date.
Step 3 – Add 30 by Placing a Plus Sign
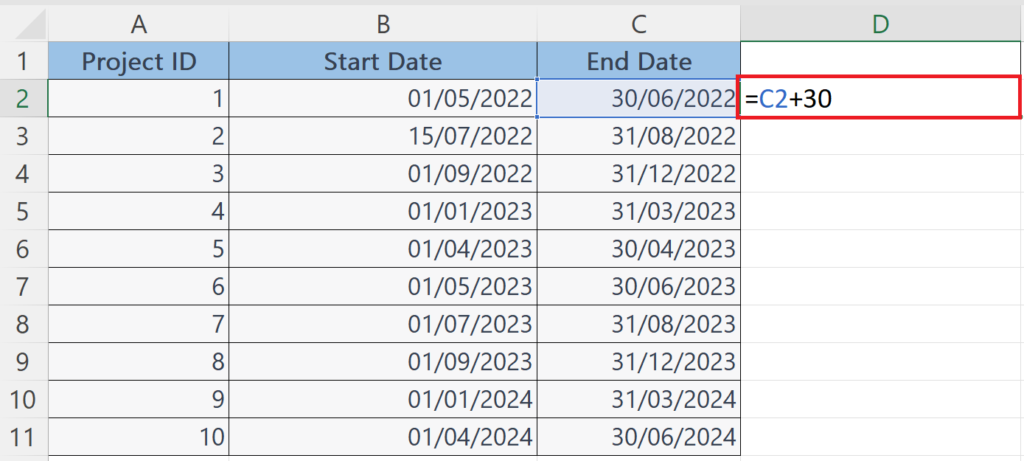
- Place a plus sign ( + ) next to the cell reference and enter the number 30 next to it.
Step 4 – Press the Enter Key

- Press the Enter key to get the results.
Step 5 – Use Autofill to Add 30 Days to Each Date
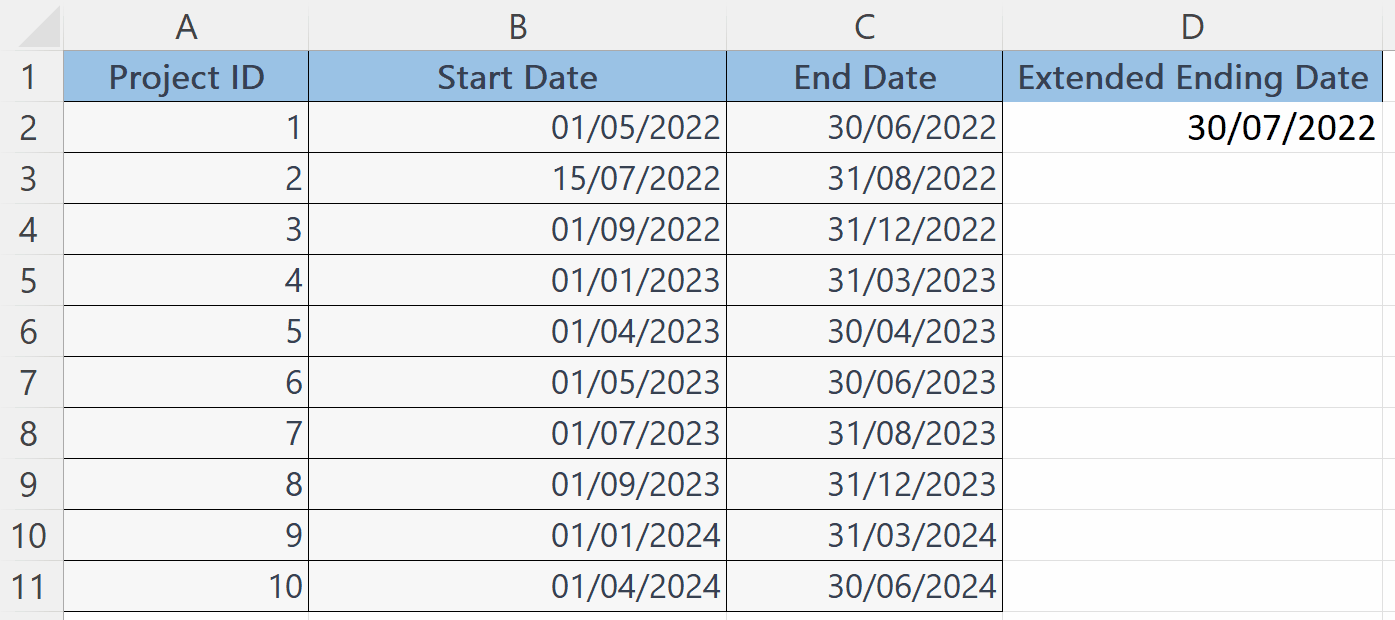
- Use Autofill to add 30 days to each date in the adjacent cells.
Method 2: Using the EDATE Function
Step 1 – Select a Blank Cell and Place an Equals Sign

- Select a blank cell.
- Place an Equals sign in the cell.
Step 2 – Enter the EDATE Function
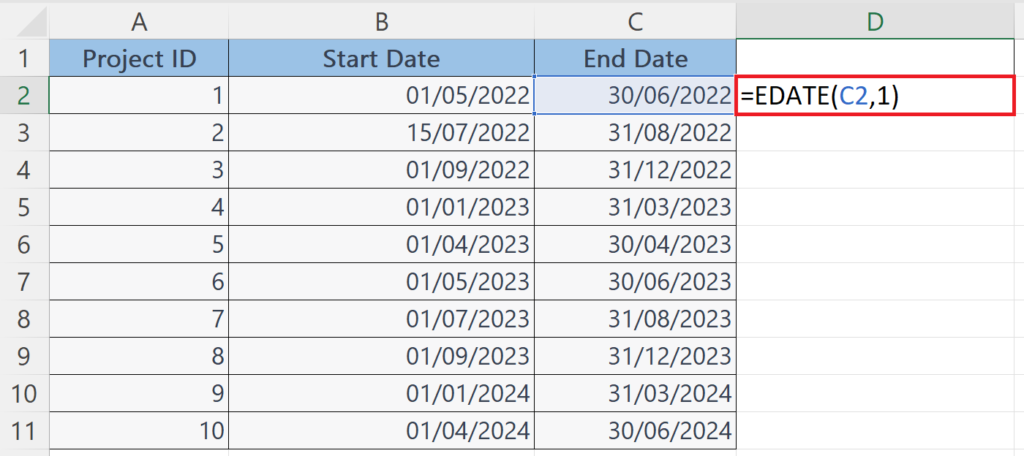
- Enter the EDATE function next to the Equals sign.
- The syntax of the EDATE function will be:
EDATE(C2 , 1 )
The first argument i.e. C2 is the original date on which 30 days are to be added.
The second argument i.e. 1 is the additional factor. It represents 1 month which is equal to 30 days.
Step 3 – Press the Enter Key

- Press the Enter key to get the result.
Step 4 – Use Autofill to Add 30 Days to Each Date

- Use Autofill to add 30 days to each date in the adjacent cells.
Method 3: Using the Date Function
Step 1 – Select a Blank Cell and Place an Equals Sign

- Select a blank cell.
- Place an Equals sign in the cell.
Step 2 – Enter the DATE Function
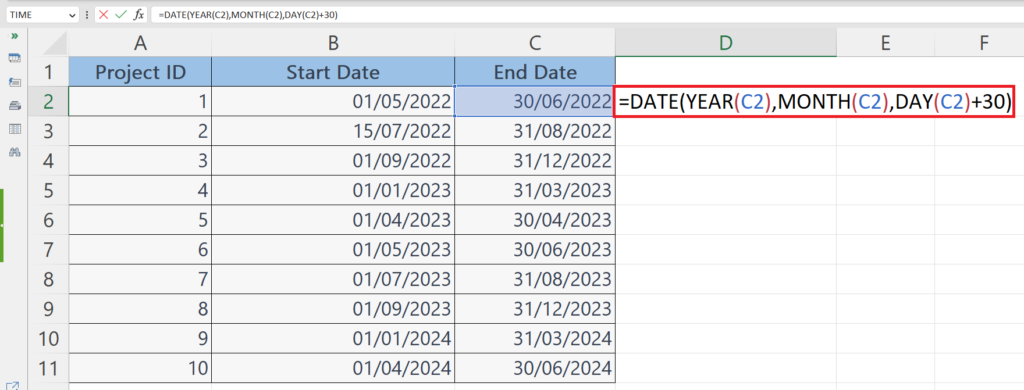
- Enter the DATE function next to the Equals sign.
- The syntax of the DATE function will be:
DATE(year(C2), month(C2), day(C2)+30)
The first argument i.e. year(C2) is the year from the original date.
The second argument i.e. month(C2) is the month from the original date.
The third argument i.e. day(C2) + 30 is the day from the original date plus 30 days.
Step 3 – Press the Enter Key
- Press the Enter key to get the result.
Step 4 – Use Autofill to Add 30 Days to Each Date

- Use Autofill to add 30 days to each date in the adjacent cells.
Method 4: Using the Paste Special Function
Step 1 – Enter the Number of Days in a Blank Cell
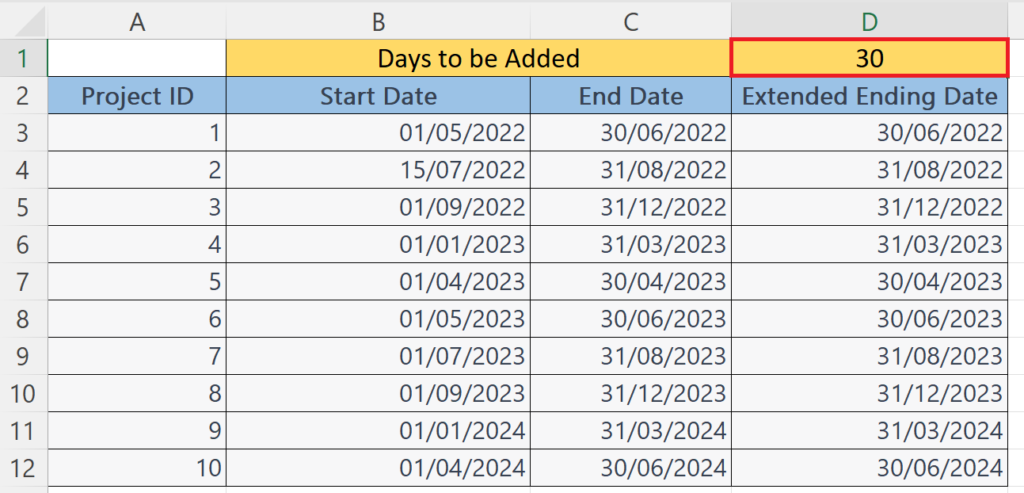
- Enter the number of days to be added i.e. 30 in a blank cell.
Step 2 – Copy the Cell
- Copy the cell containing the number of days to be added.
- This can be done by pressing CTRL + C shortcut keys.
Step 3 – Right-Click the Cells Containing the Date
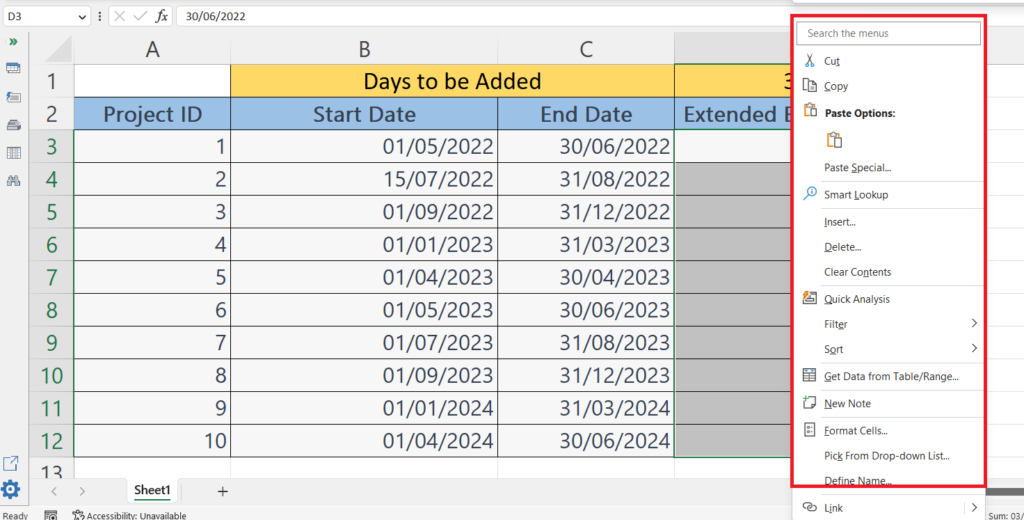
- Select the cells containing the original dates.
- Right-click on the cell containing the original dates.
- A context menu will appear.
Step 4 – Select the “Paste Special” Option and Select “Add” Operation
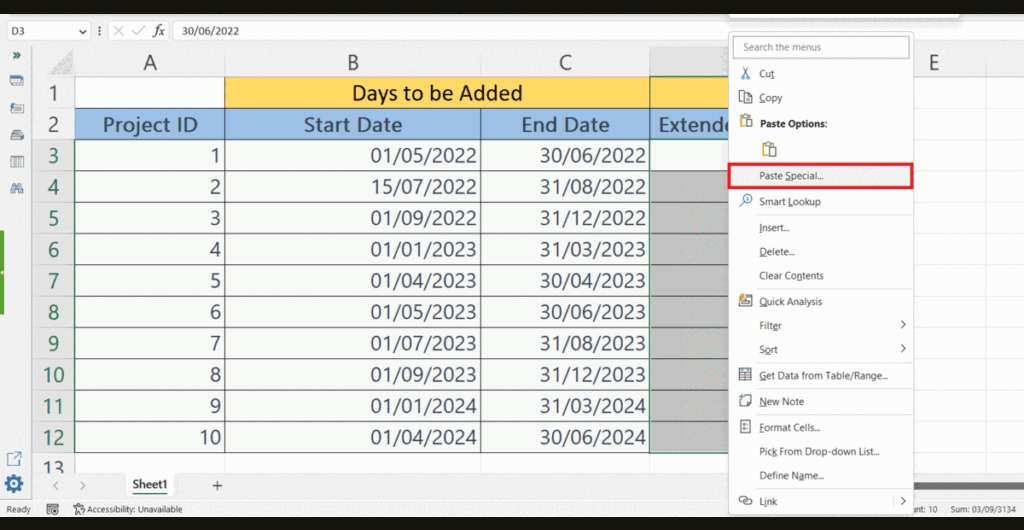
- Click on the “Paste Special” option in the context menu.
- Select the Add operation in the “Operation” section.
Step 5 – Click on OK
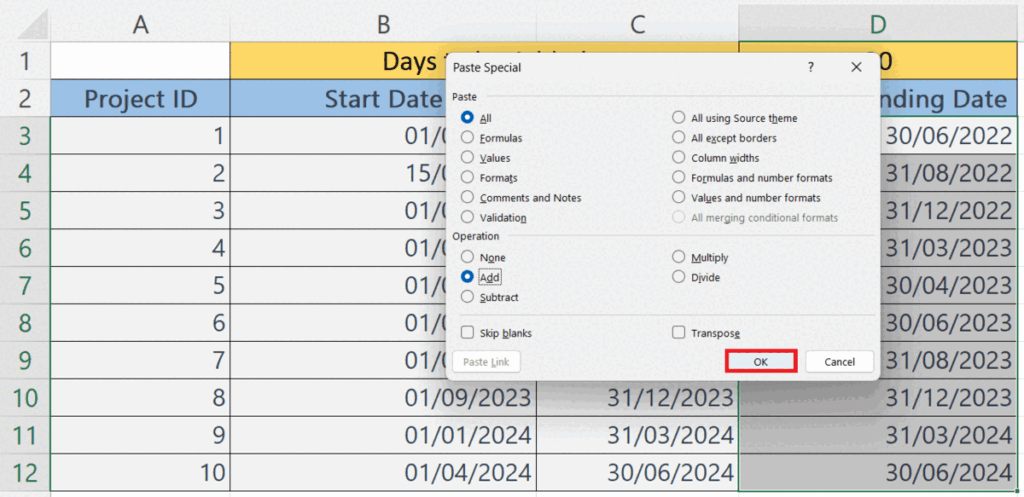
- Click on OK in the Paste Special Dialog Box.


