How to use the Autofill in Google Sheets
 By
SpreadCheaters
By
SpreadCheaters
Google Sheets offer incredible features to ease mathematical calculations by using built-in formulas. Along with data analysis features, it also provides us with the tools to sort, highlight and format data values to make them presentable. One of those features is Autofill.
In this tutorial, we’ll learn how to use autofill in google sheets. Autofill is a built-in Google Sheets function, you can apply it to a column or a row based on the predefined pattern. In the first case, we will use autofill to generate a series of even numbers.
Method 1: Using Autofill to generate series of Numbers
Step 1 – Create a pattern of numbers
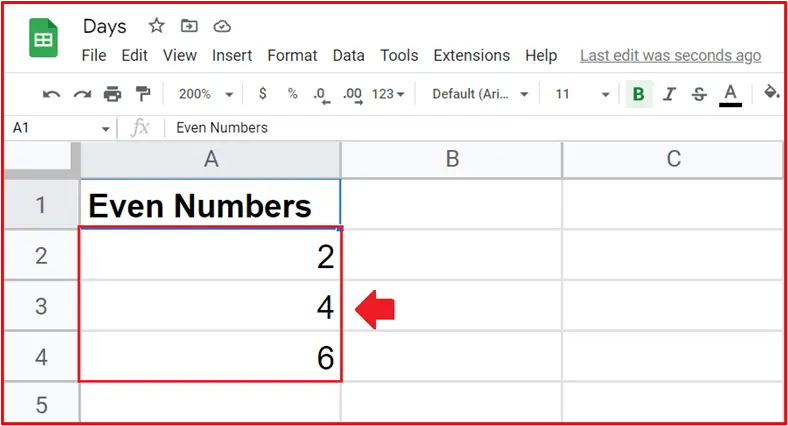
- We have to enter the first three rows manually so that a pattern is formed.
Step 2 – Select the manually entered columns
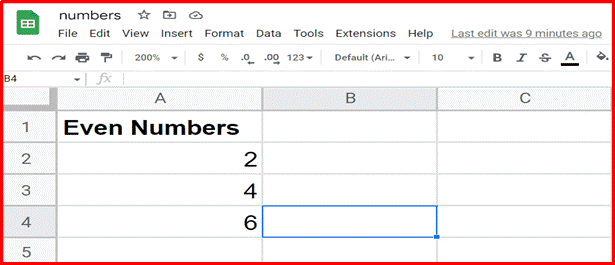
- Select the rows with the help of handle select and drag
Step 3 – Drag and Drop over the desired cells
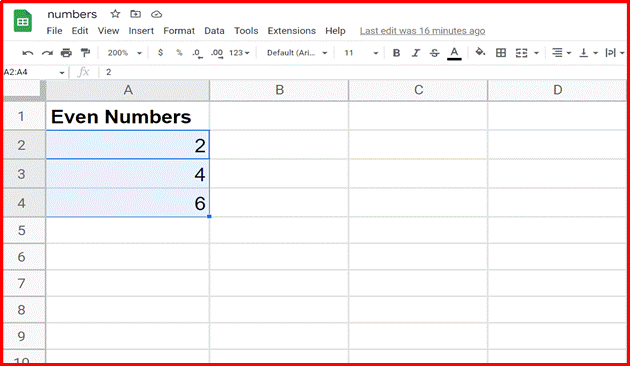
- Place the cursor over the bottom right-hand corner of the selected cells until it’s a black plus sign.
- Drag the plus sign with the mouse over the cells you want to fill and release the mouse when you reach the last cell.
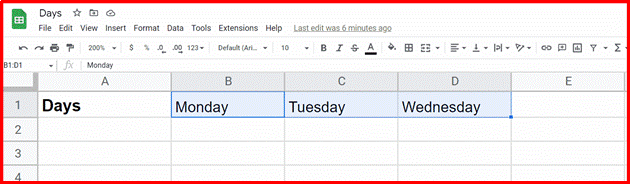
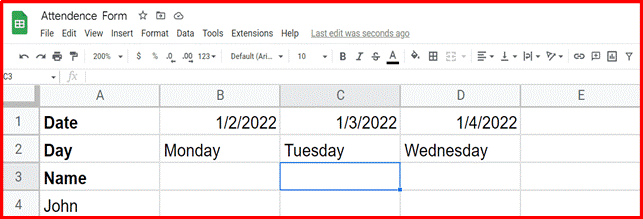
Method 2: Using Autofill to generate series of days
Similar to the numbers we can use Autofill for creating a series of days.
Step 1 – Create a pattern of days
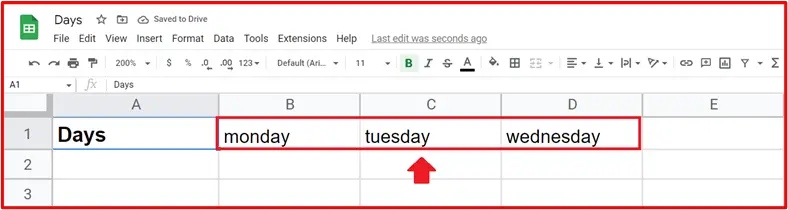
- We have to enter the first three instances manually so that a recognizable pattern is formed.
Step 2 – Select the manually entered columns
- Select the columns with the help of handle select and drag
Step 3 – Drag and Drop over the desired cells
- Place the cursor over the bottom right-hand corner of the selected cells until it’s a black plus sign.
- Drag the fill handle with the mouse over the cells you want to fill and release the mouse when you reach the last cell.
Method 3: Using Autofill to generate series of months
Similar to the numbers we can use Autofill for Months.
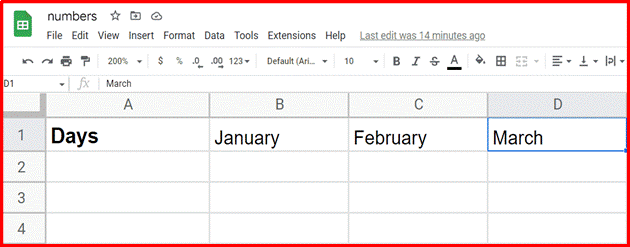
Step 1 – Make a Pattern
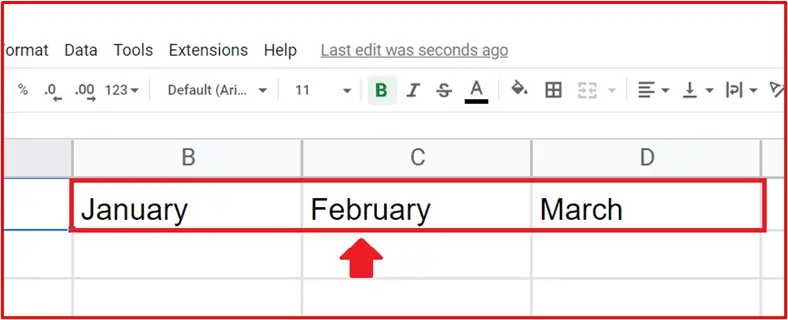
- We have to enter the first three columns manually so that a pattern is formed.
Step 2 – Select the manually entered columns
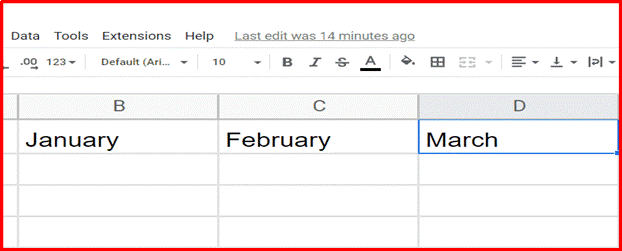
- Select the columns with the help of handle select and drag
Step 3 – Drag and Drop over the desired cells
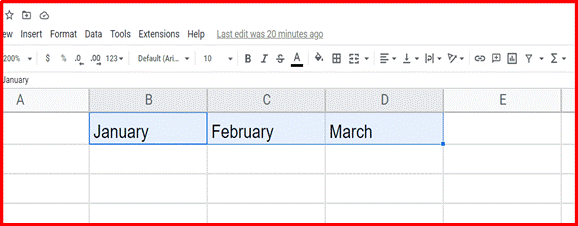
- Place the cursor over the bottom right-hand corner of the selected cells until it’s a black plus sign.
- Drag the fill handle with the mouse over the cells you want to fill and release the mouse when you reach the last cell.
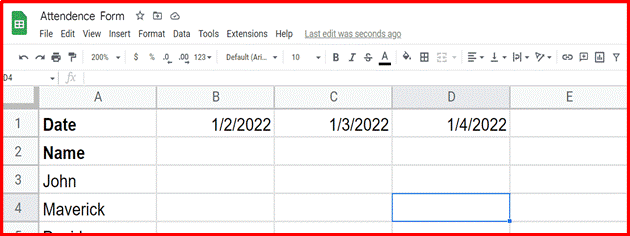
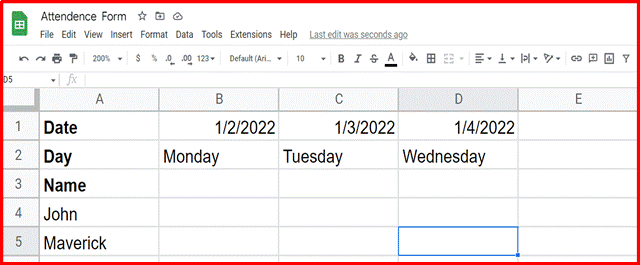
Method 4: Using Autofill to generate series of Dates
Google sheets also allows Autofill to be used for dates.
Step 1 – Make a Pattern
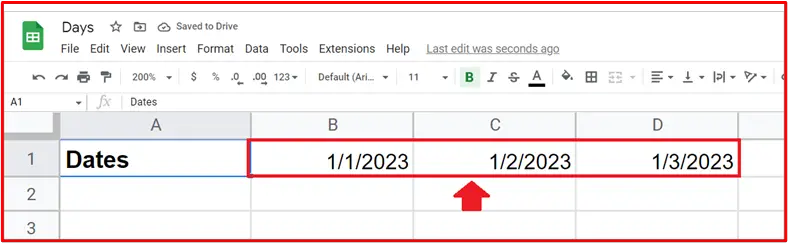
- We have to enter the first three columns manually so that a pattern is formed i.e. Months/Day/Year.
Step 2 – Select the manually entered columns
- Select the columns with the help of handle select and drag
Step 3 – Drag and Drop over the desired cells
- Place the cursor over the bottom right-hand corner of the selected cells until it’s a black
- Drag the fill handle with the mouse over the cells you want to fill and release the mouse when you reach the last cell.
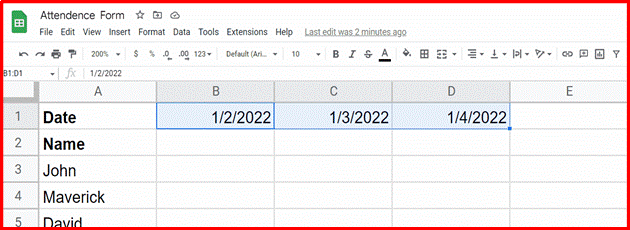
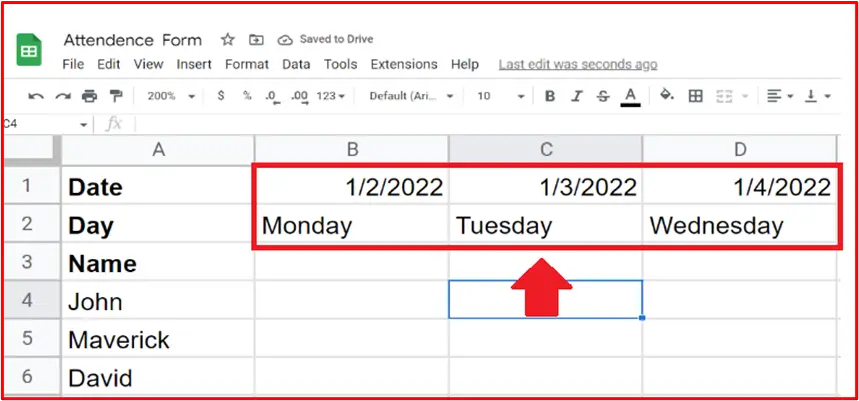
Method 5: Using Autofill to generate multiple series at a time
Google sheets also allows Autofill to be used for multiple rows and columns at a time.
Step 1 – Make Pattern for both the rows
- We have to enter the first three columns manually so that a pattern is formed.
Step 2 – Select the manually entered columns
- Select the columns of both the rows at a time with the help of handle select and drag.
Step 3 – Drag and Drop over the cells
- Place the cursor over the bottom right-hand corner of the selected cells until it’s a black plus sign.
- Drag the plus sign over the cells you want to fill and drop.