How to switch columns in Google Sheets
 By
SpreadCheaters
By
SpreadCheaters
Page last updated:
19/04/2023 |
Next review date:
19/04/2025
You can watch a video tutorial here.
When working with data in Google Sheets, you may need to switch the position of two columns. This could be to arrange the data in a particular order or to group relevant columns.
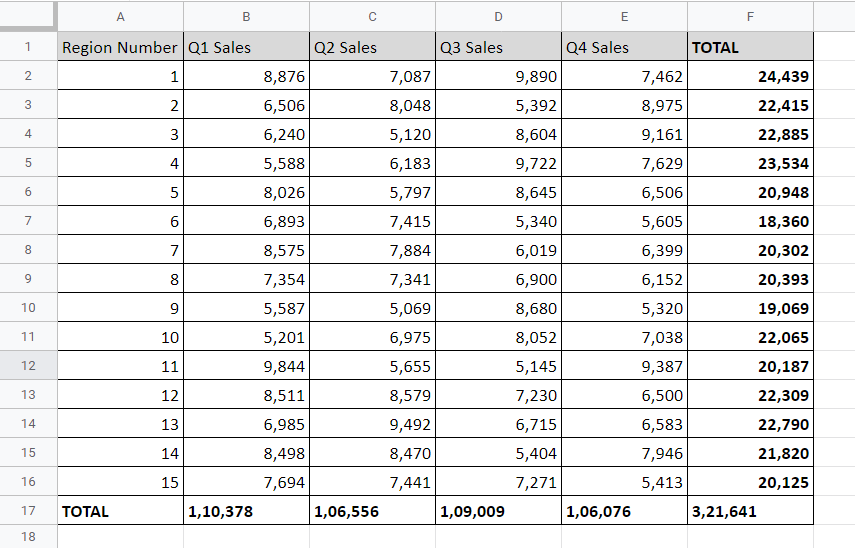
Step 1 – Insert a blank column
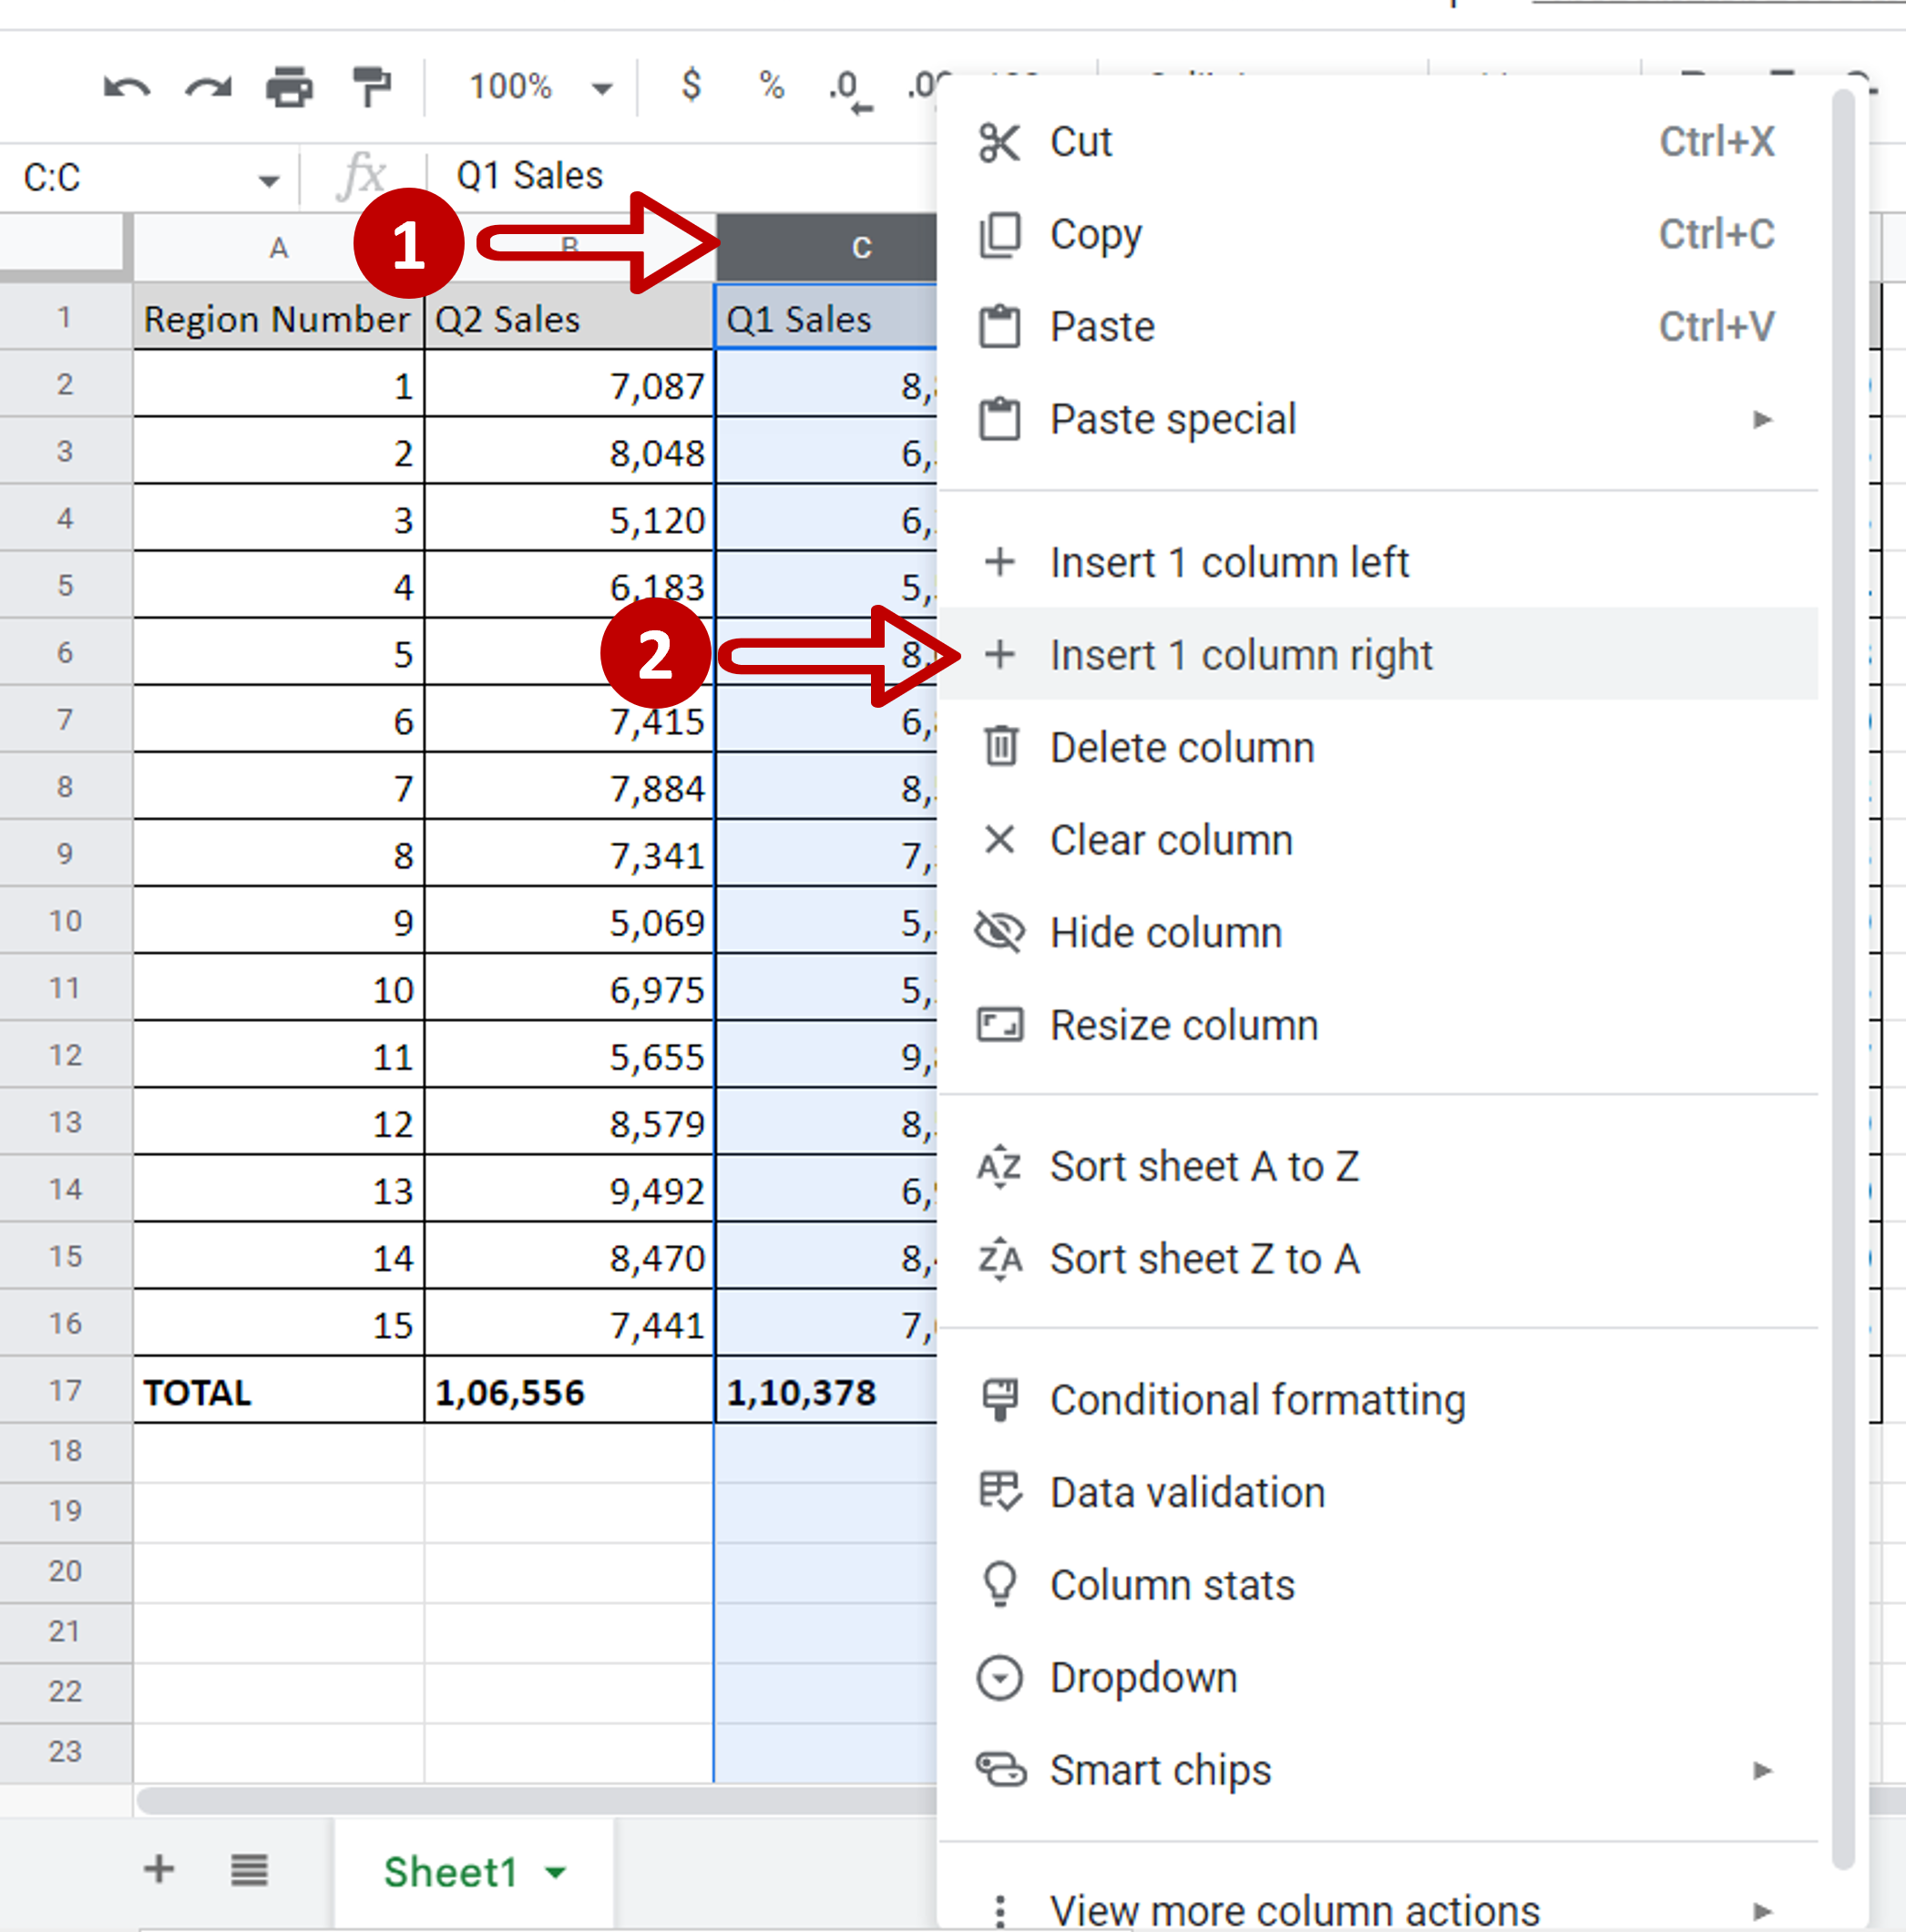
– Select ‘Q1 Sales’ by clicking on the column header
– Right-click and select Insert 1 column right from the context menu
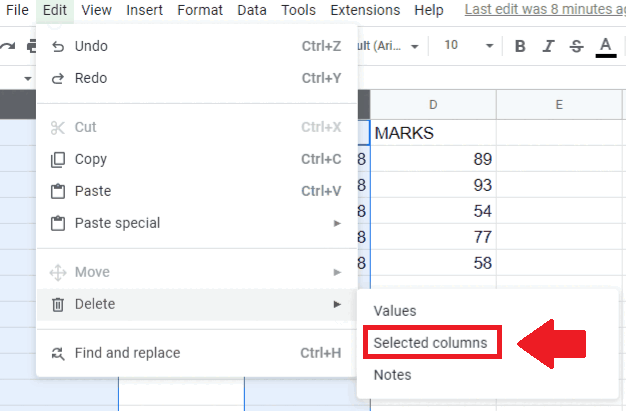
Step 2 – Cut the column
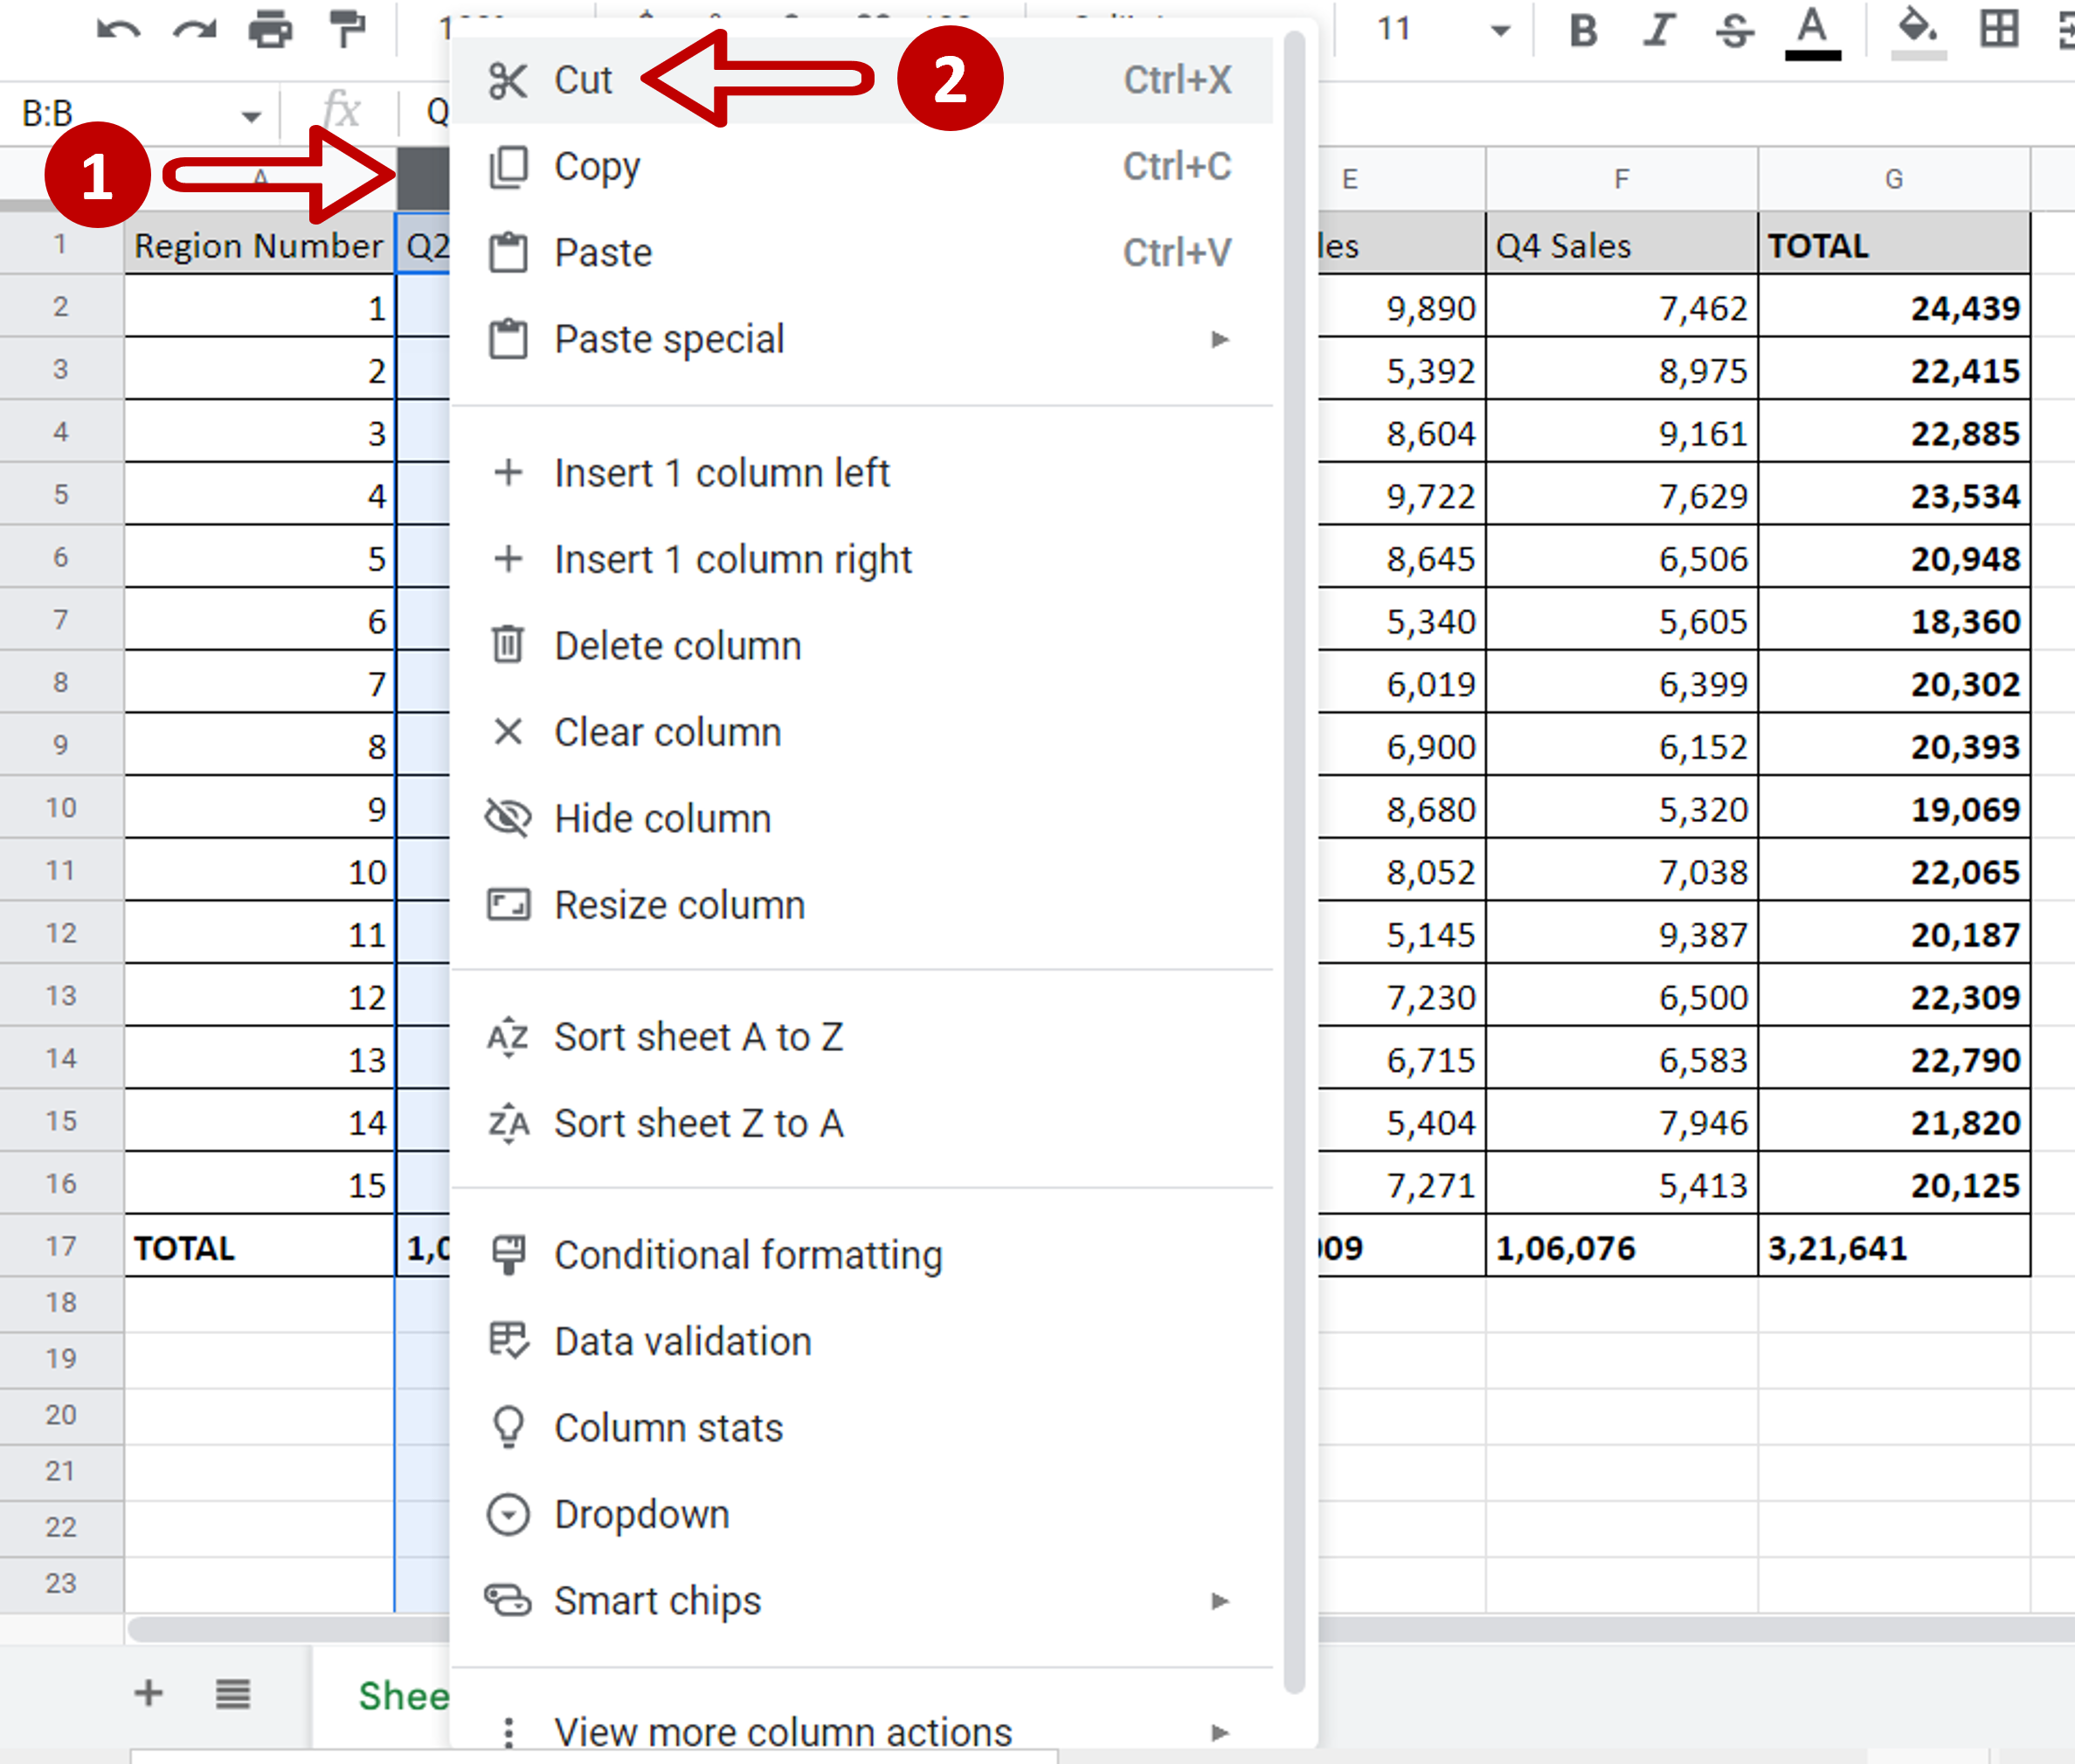
– Select ‘Q2 Sales’ by clicking on the column header
– Right-click and select Cut from the context menu or press Ctrl+X
Step 3 – Paste the column
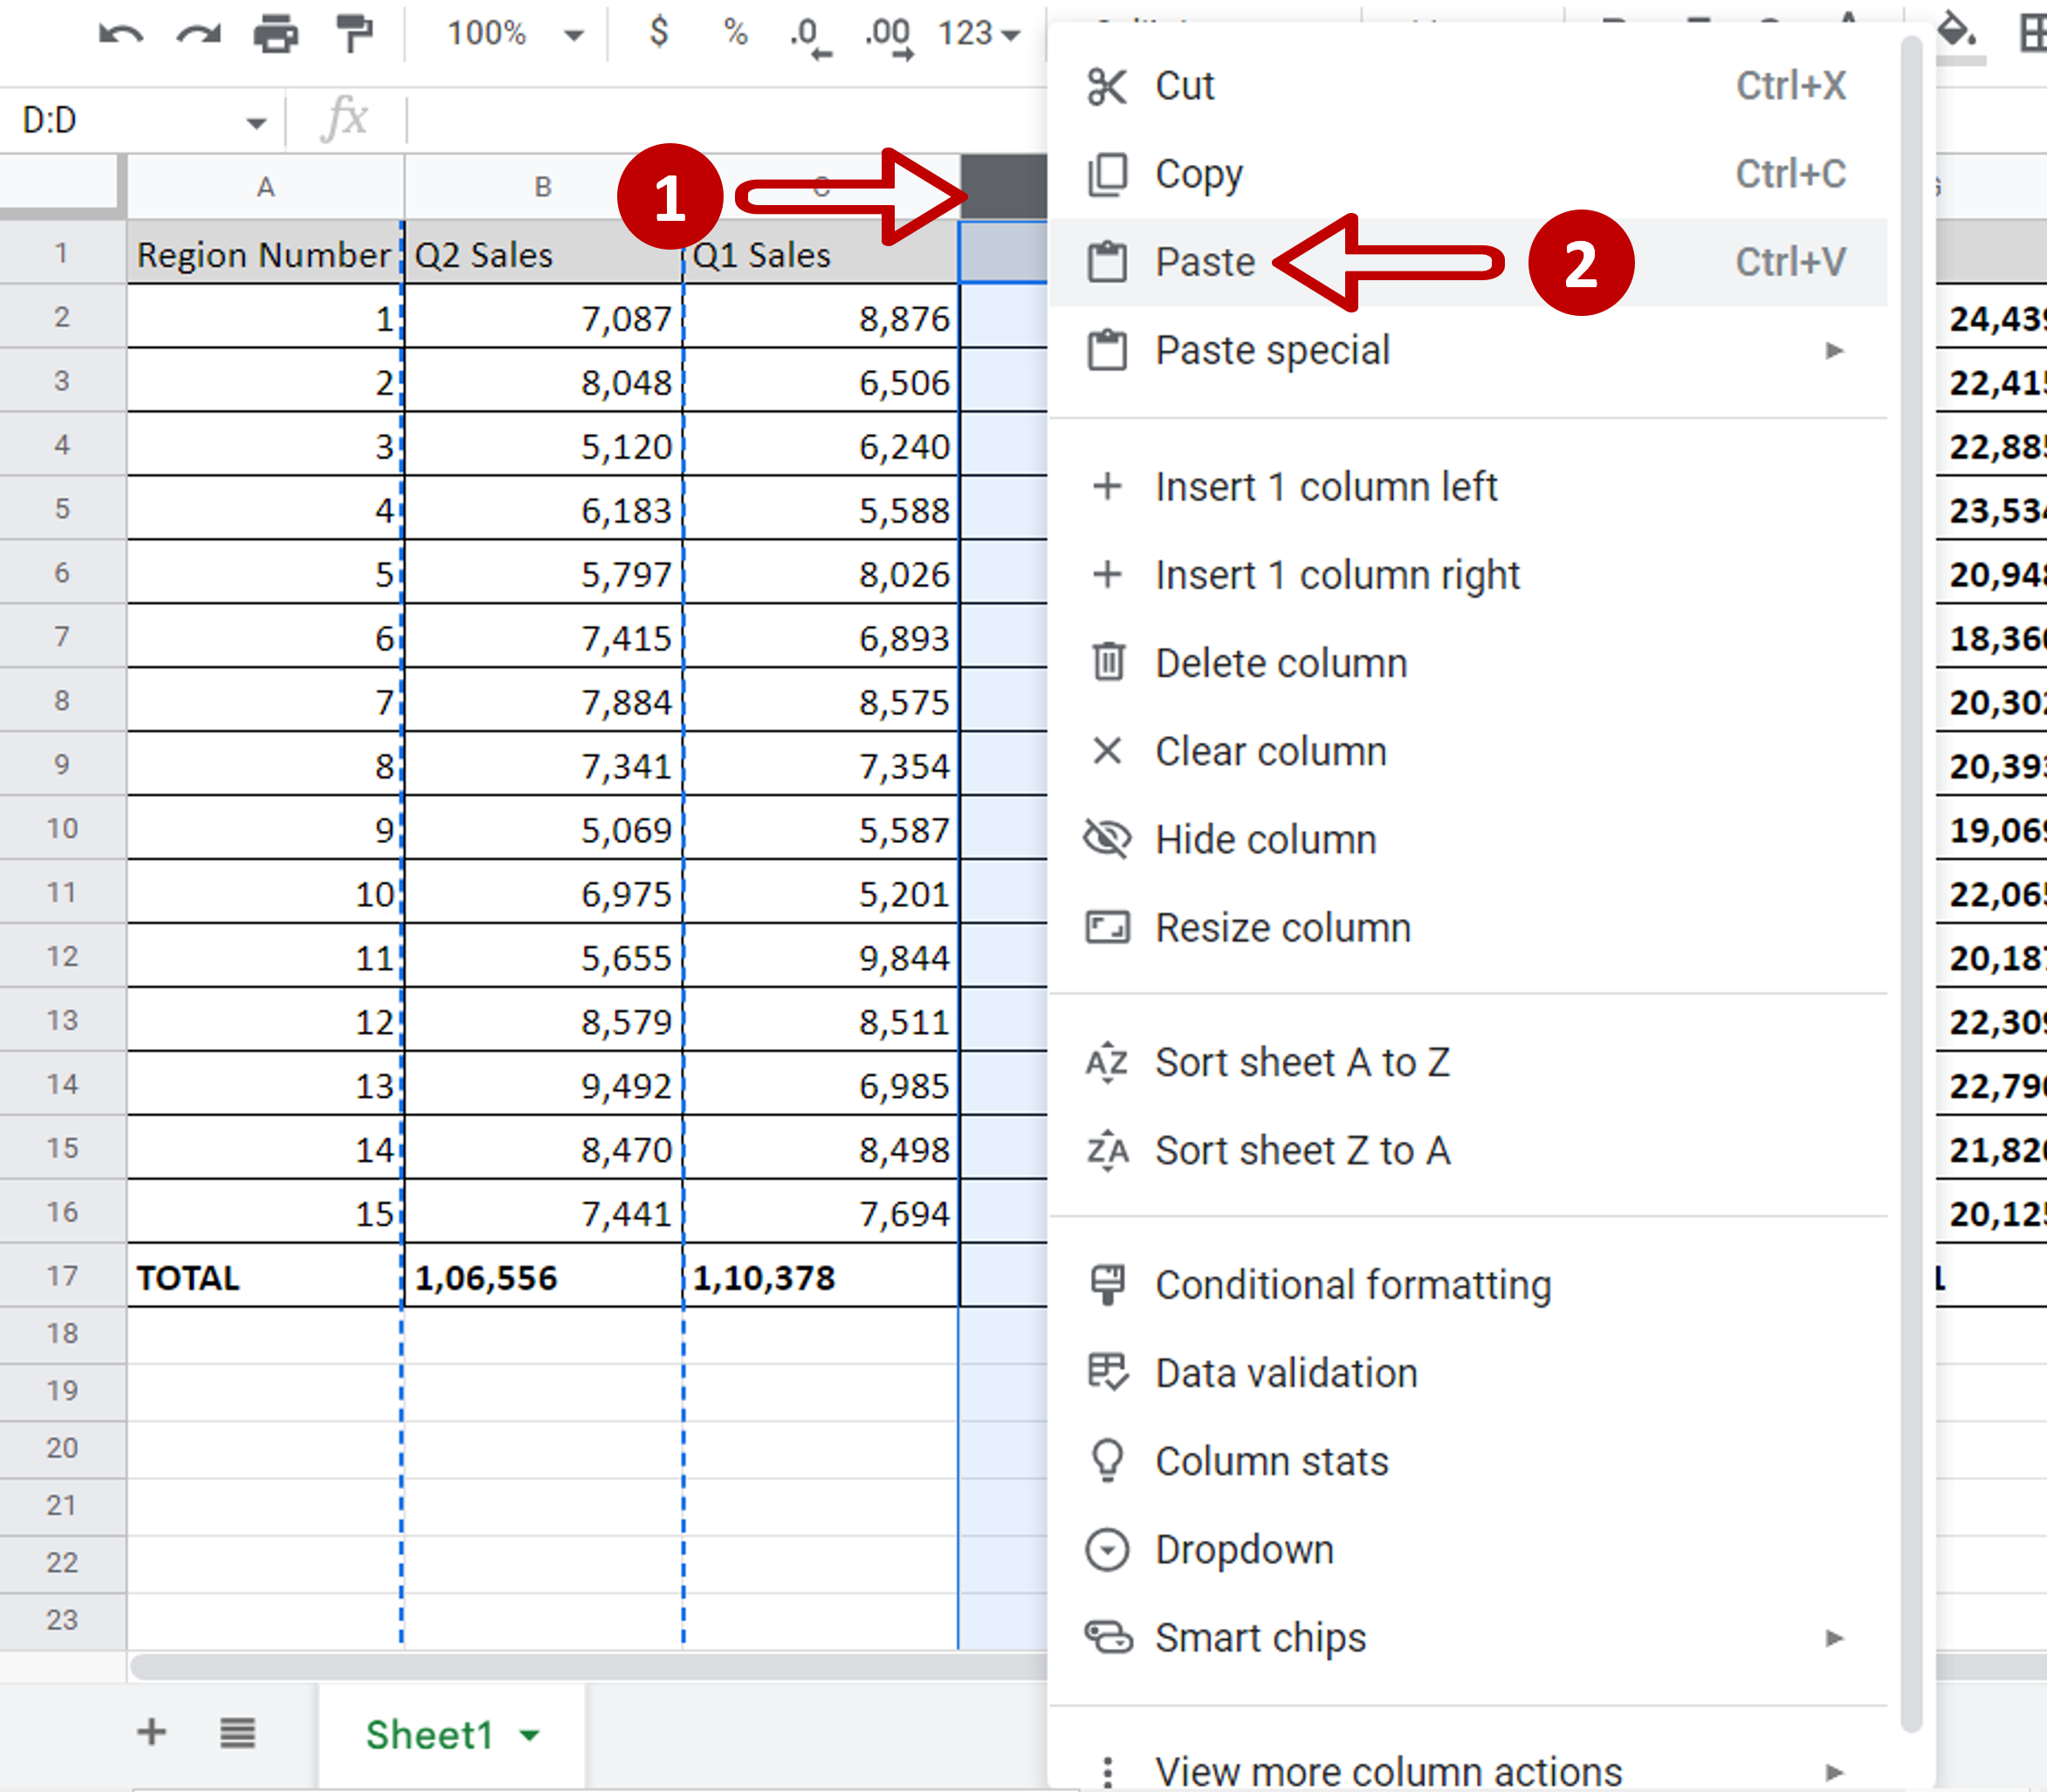
– Select the inserted blank column by clicking on the column header
– Right-click and select Paste from the context menu or press Ctrl+V
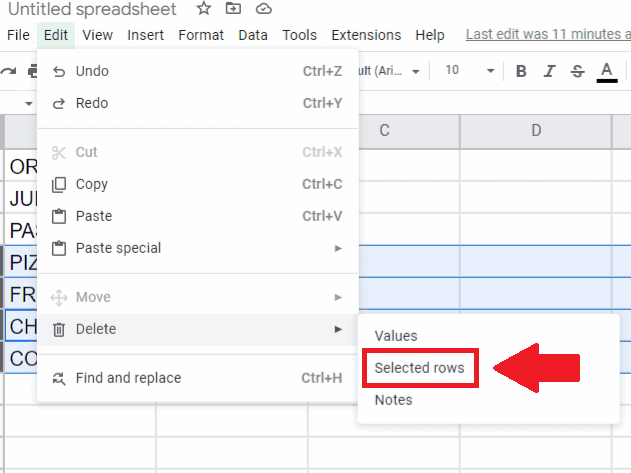
Step 4 – Delete the blank column

– Select the blank column by clicking on the column header
– Right-click and select Delete from the context menu
Step 5 – Check the result
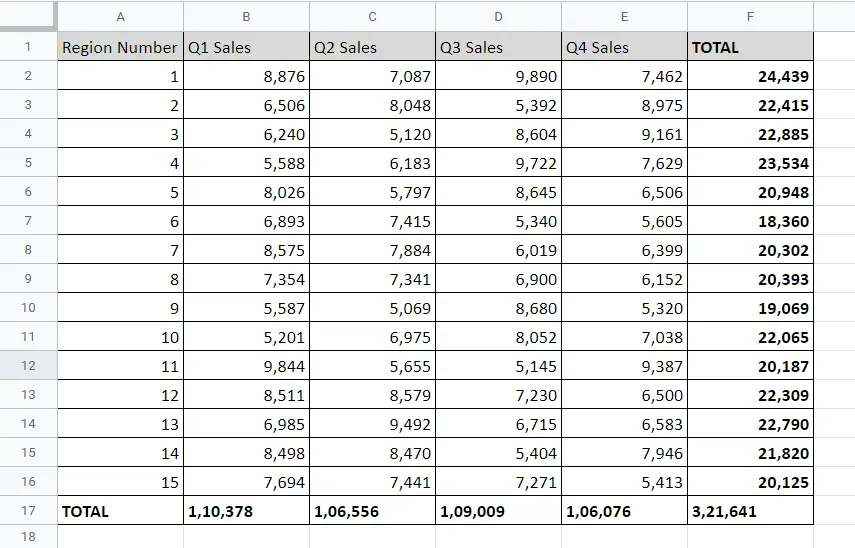
– The columns are switched