How to shift cells down in Google Sheets
 By
SpreadCheaters
By
SpreadCheaters
Page last updated:
19/04/2023 |
Next review date:
19/04/2025
You can watch a video tutorial here.
Google Sheets is a popular spreadsheet application in which the workspace is arranged as rows and columns in the form of a grid. Each intersection of a row and column is called a cell. When working with Google Sheets, you may need to shift some cells down, without disturbing the data. This could be to change the order of the cells or to insert blank cells.
Option 1 – Insert cells
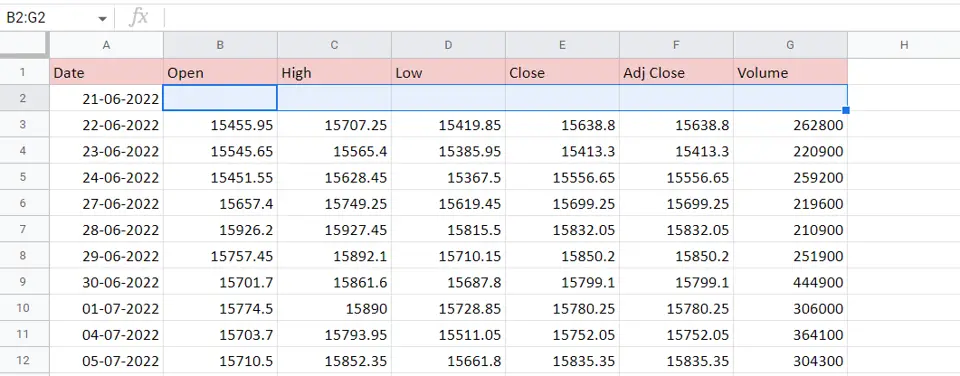
Step 1 – Select the cells
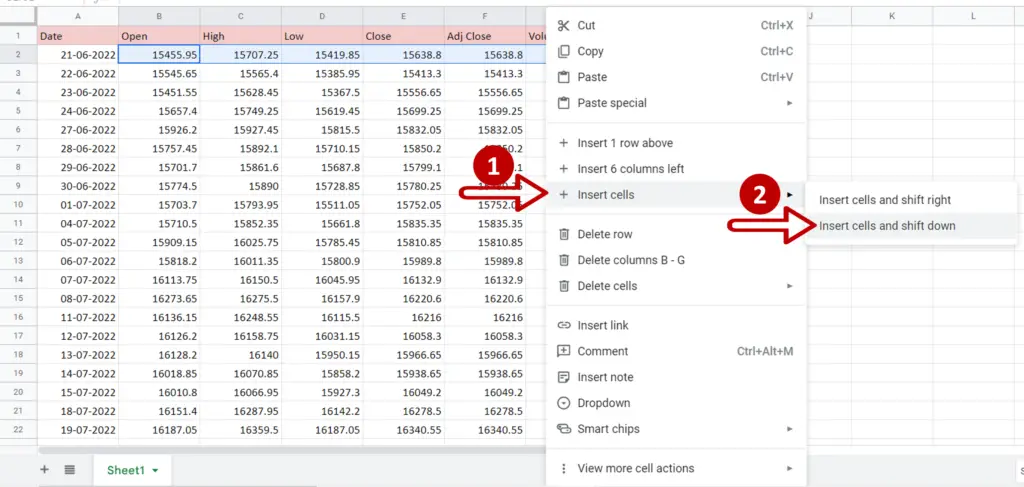
- Select the cells to be moved
- Right-click to display the context menu
- Select Insert cells > Insert cells and shift down
OR
- Go to Insert > Cells > Insert cells and shift down
Step 2 – View the result
- The cells are shifted down and blank cells appear in their place
Option 2 – Drag and drop
Step 1 – Select the cells
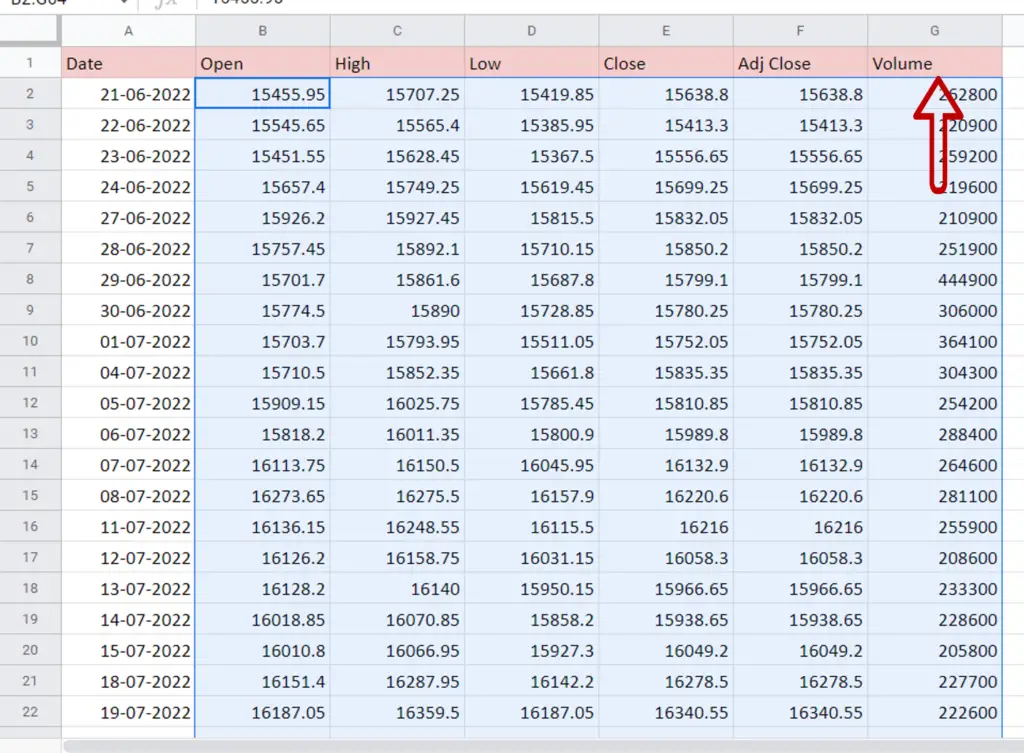
- Select the cells to be shifted
- Move the pointer over the top border of the selected area till it becomes a small hand i.e. the move pointer
Step 2 – Drag and drop
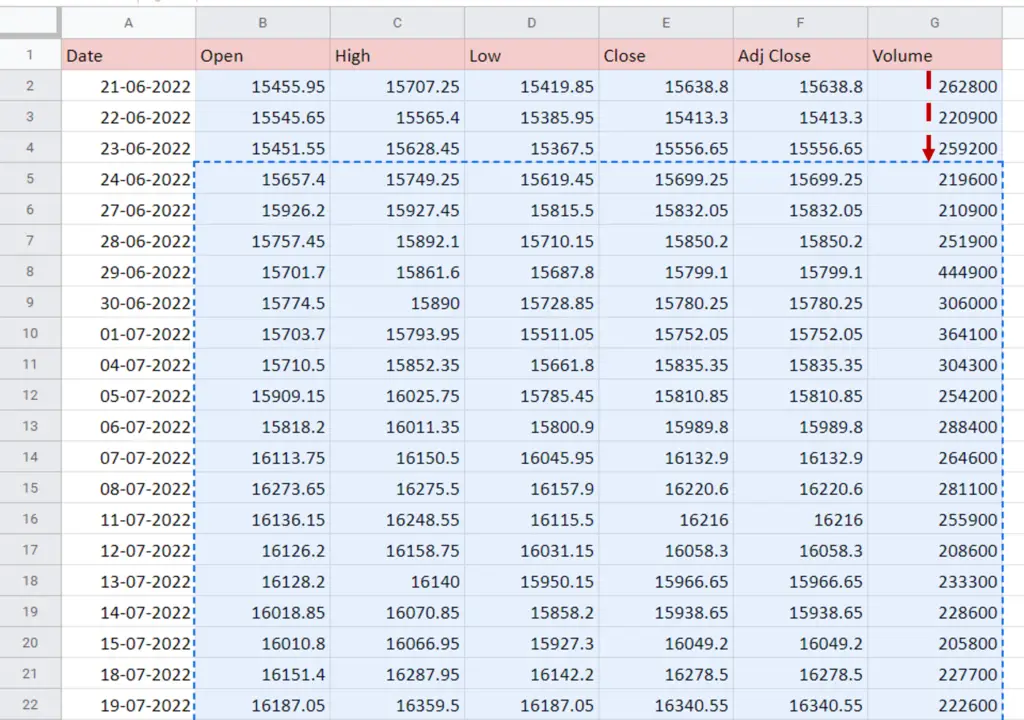
- Click the left mouse button
- Holding down the button, drag the area down
- Release the mouse button when the cells are in the new location
Step 3 – View the result
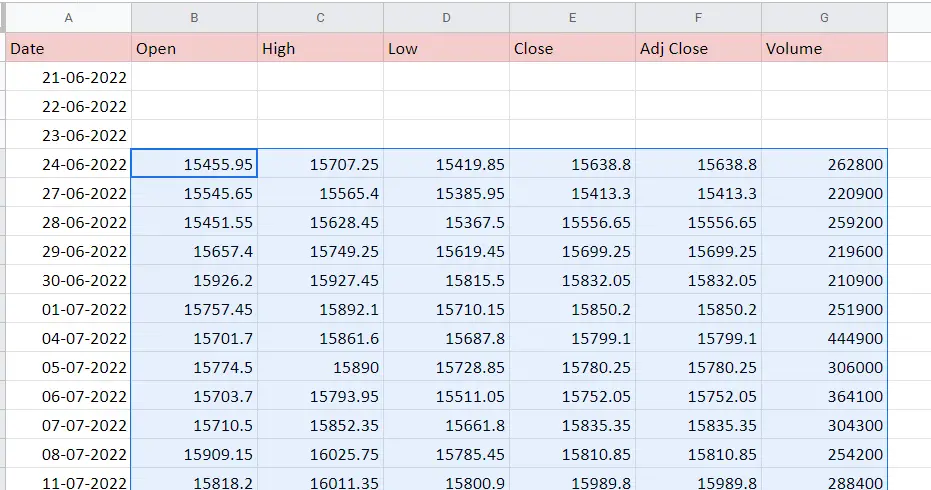
- The cells are shifted down and blank cells appear in their place
Option 3 – Cut & paste
Step 1 – Select the cells
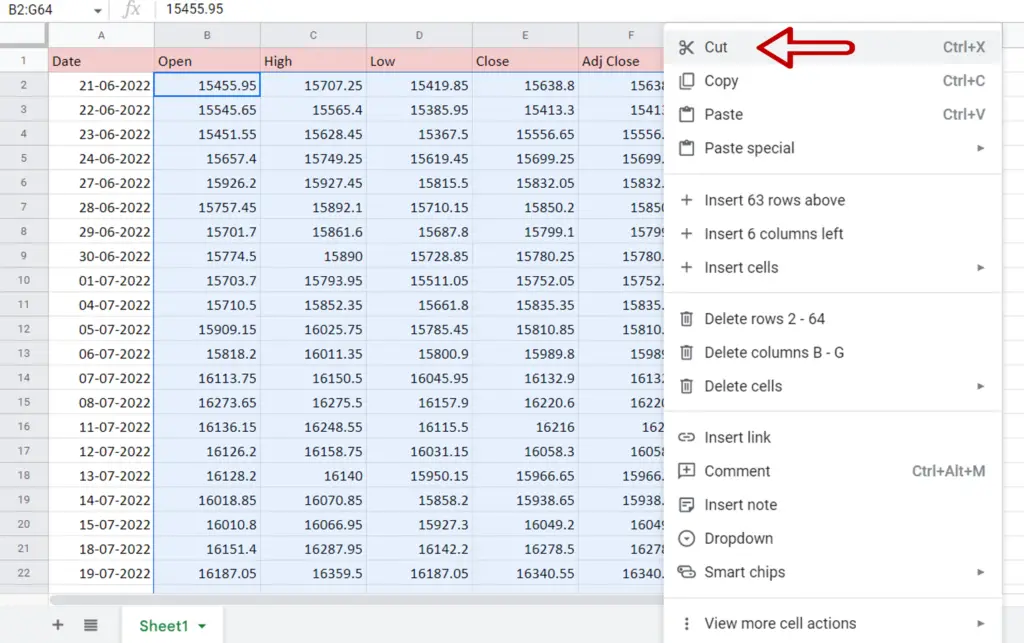
- Select the cells to be shifted
- Right-click to display the context menu and select Cut or press Ctrl+X
Step 2 – Paste at the new location
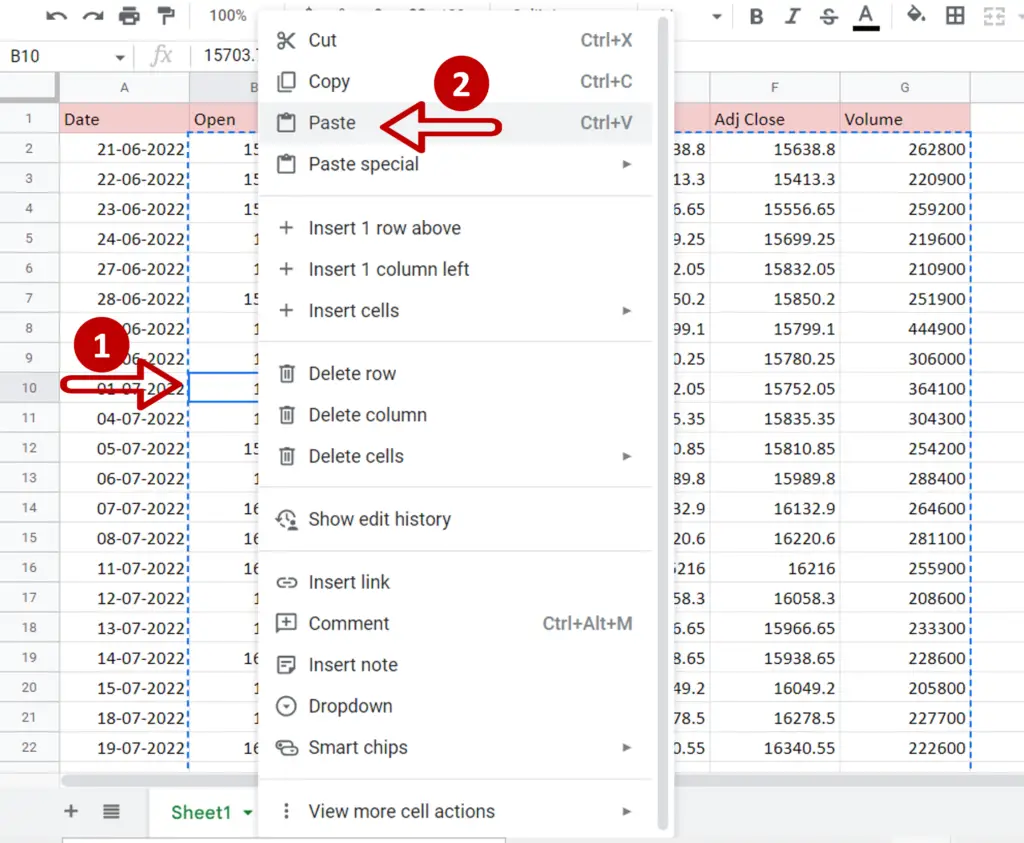
- Position the cursor at the new location
- Right-click to display the context menu and select Paste or press Ctrl+V
Step 3 – View the result
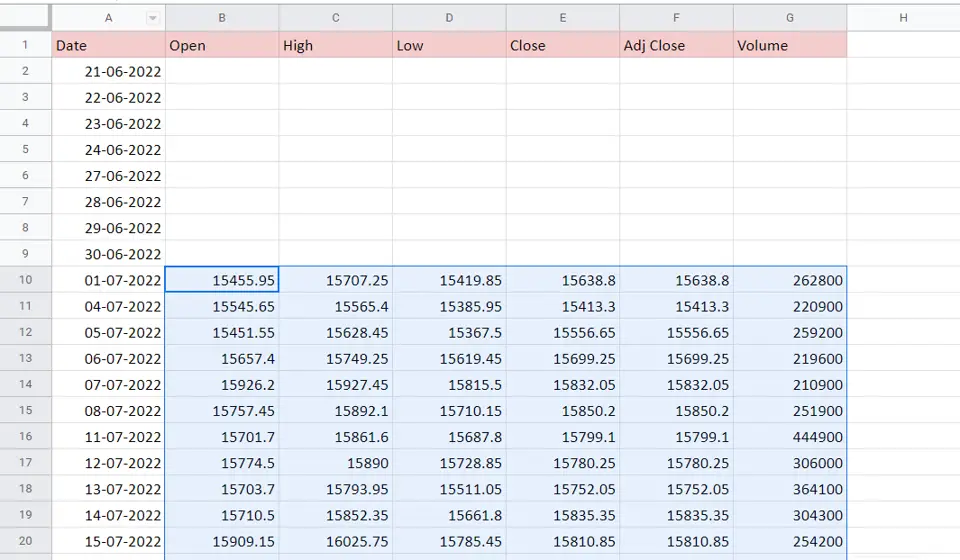
- Only the selected cells are shifted down