How to adjust row height in Google Sheets
 By
SpreadCheaters
By
SpreadCheaters
Therefore, in today’s tutorial we’ll learn how to adjust the row heights in Google Sheets to do it by following the simple steps explained below;
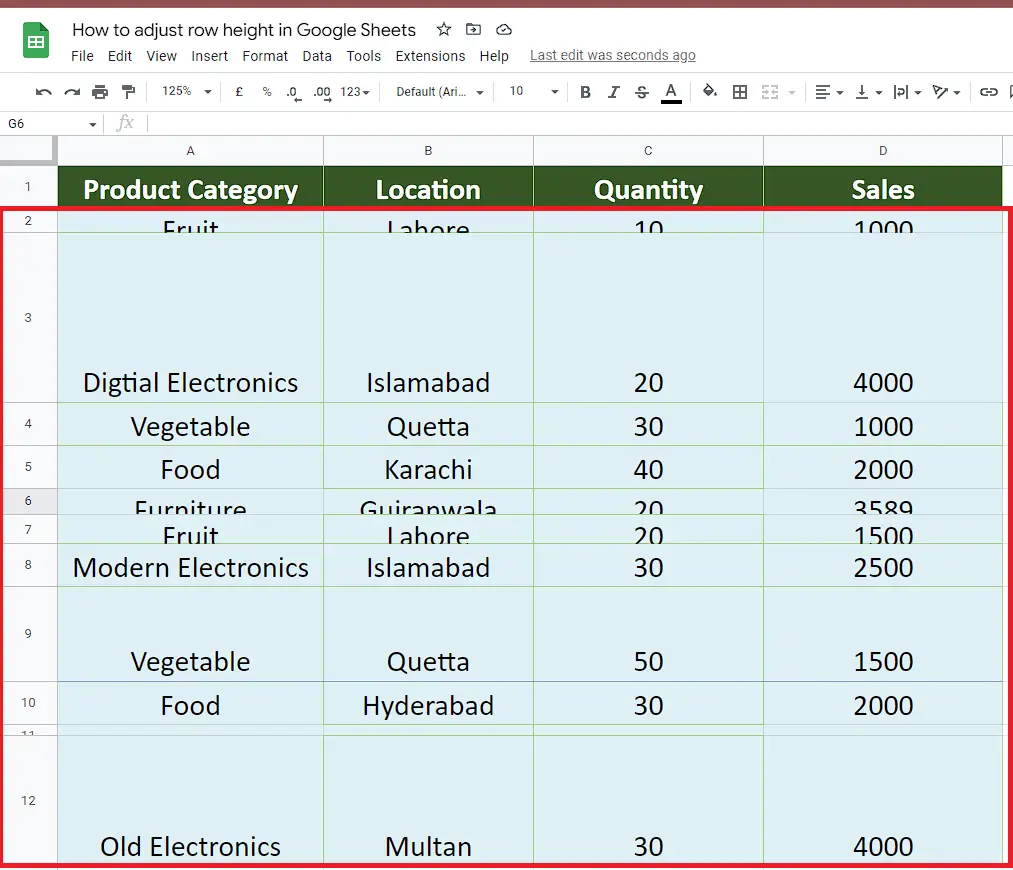
Let’s look at this dataset in which the data is all messed up due to inconsistent row heights.
So let’s get to work and make the sheet look awesome by changing the row heights proportionately.
Sometimes when you receive a Google Sheet from someone else it does not look aesthetically good because all the data looks jumbled up and the row heights and column widths are not consistent. In such cases you would definitely want to change the row heights of the sheet to make your Sheet look aesthetically well.
Step 1 – Select all rows to be adjusted
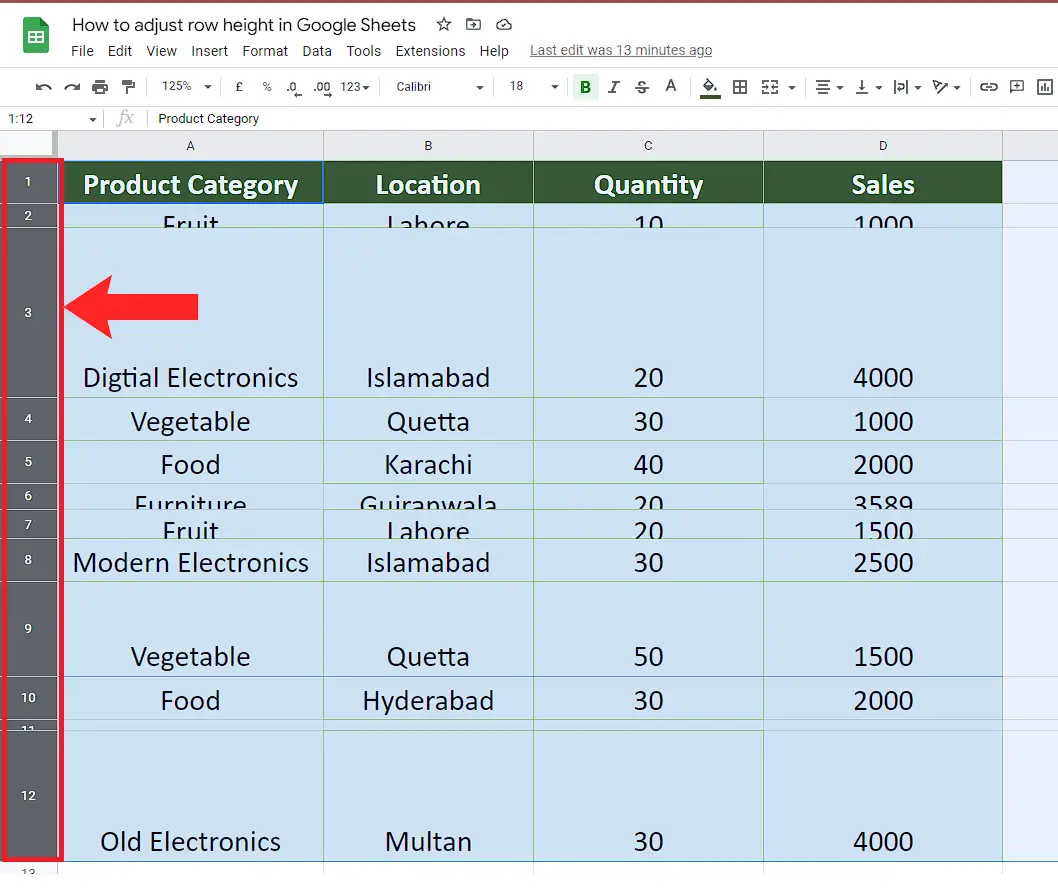
– Select all the rows for which we wish to adjust the row heights.
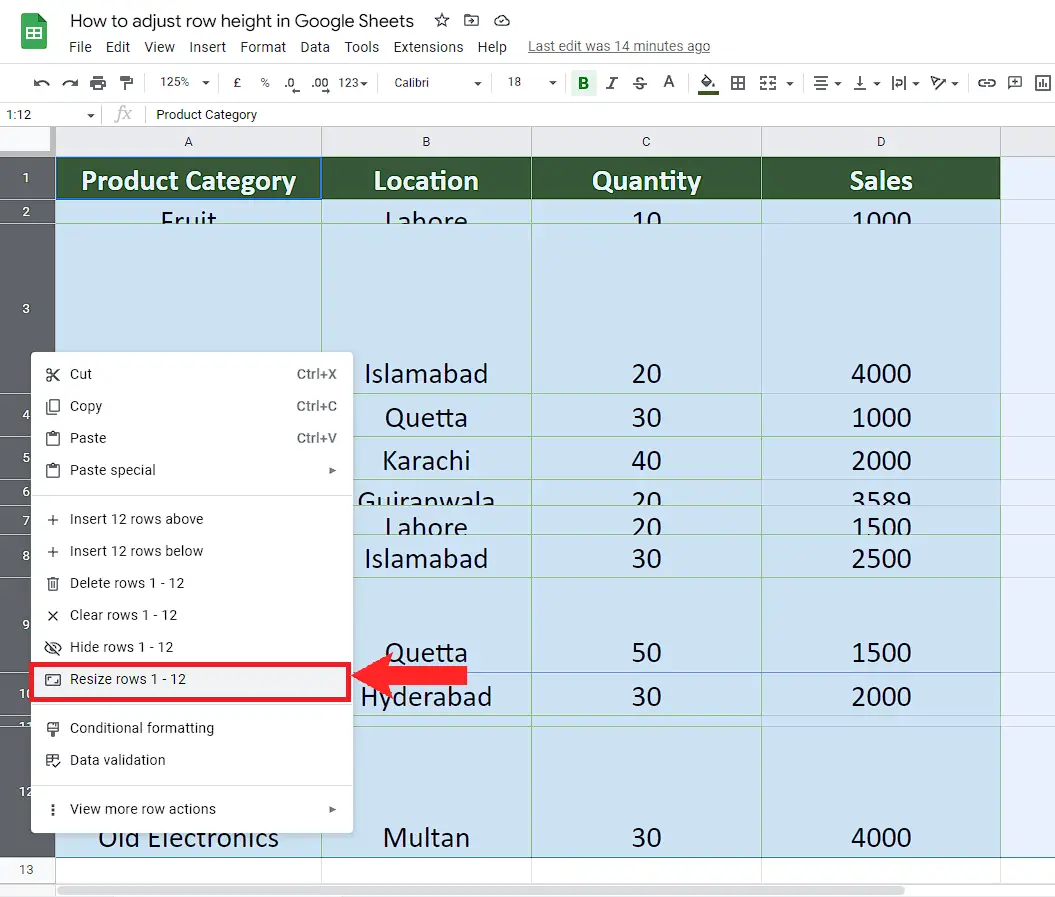
Step 2 – Open up the context menu and locate Resize

– Now right click on any or the selected row’s index number to open up the context menu.
– Locate the Resize rows 1 – 12. In our case, we selected 12 rows. That’s why it shows the option to resize 12 rows. You can choose as many as you require.
Step 3 – Open up the Resize dialog box
– Click on the Resize rows 1 – 12. In our case, we selected 12 rows that’s why it shows the option to resize only 12 rows.
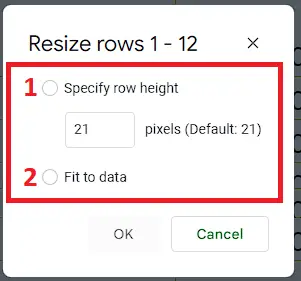
– This will open up a new dialog box with the options. It will have two options as shown above.
Step 4 – Choose the right option in Resize dialog box
– To use the first option, i.e., specify the row height manually you need to know how many pixels would suffice to fulfill your requirement. Then enter a reasonable number in the pixels box. The default value is 21 pixels.
– However, the second option is more suitable because it adjusts the row heights according to the data. Choose any one of these and press the OK button.